Anthuriums (tailflower, flamingo flower, laceleaf), with their striking heart-shaped blooms and glossy green leaves, are the divas of the houseplant world. They’ll dazzle you with their beauty, but every superstar needs a little backstage makeover now and then. In this guide, we’re going to teach you everything you need to know about repotting your Anthurium. So, grab your gardening gloves, and let’s learn the tricks of Repotting Anthurium plants!
When is the Best Time for Anthurium Repotting?
First off, let’s talk timing. When should you even think about repotting your Anthurium? Well, here’s the scoop: Spring and early summer are the prime time for this operation. Why? Because your Anthurium is gearing up for its growth spurt, and it’ll appreciate the extra space in its new digs.
But wait, don’t just jump into it. Observe your plant. Is it bursting out of its current pot? Are the roots sneaking out the drainage holes like little green tentacles? If so, it’s time. Anthuriums are very sensitive to being root-bound, so make sure you avoid that.
Preparations: Setting the Stage for Success
Before you get down and dirty with your plant, let’s get prepped.
Choosing the Right Pot
Think of this as house hunting for your Anthurium. You want a pot that’s a bit bigger than its current one, but not a mansion. A pot that’s 1-2 inches larger in diameter is the sweet spot. Oh, and make sure it has drainage holes. Your Anthurium hates wet feet.
They also do not like very deep pots and grow best in smaller ones (5.5 – 9 inches deep).
Choosing the Right Soil
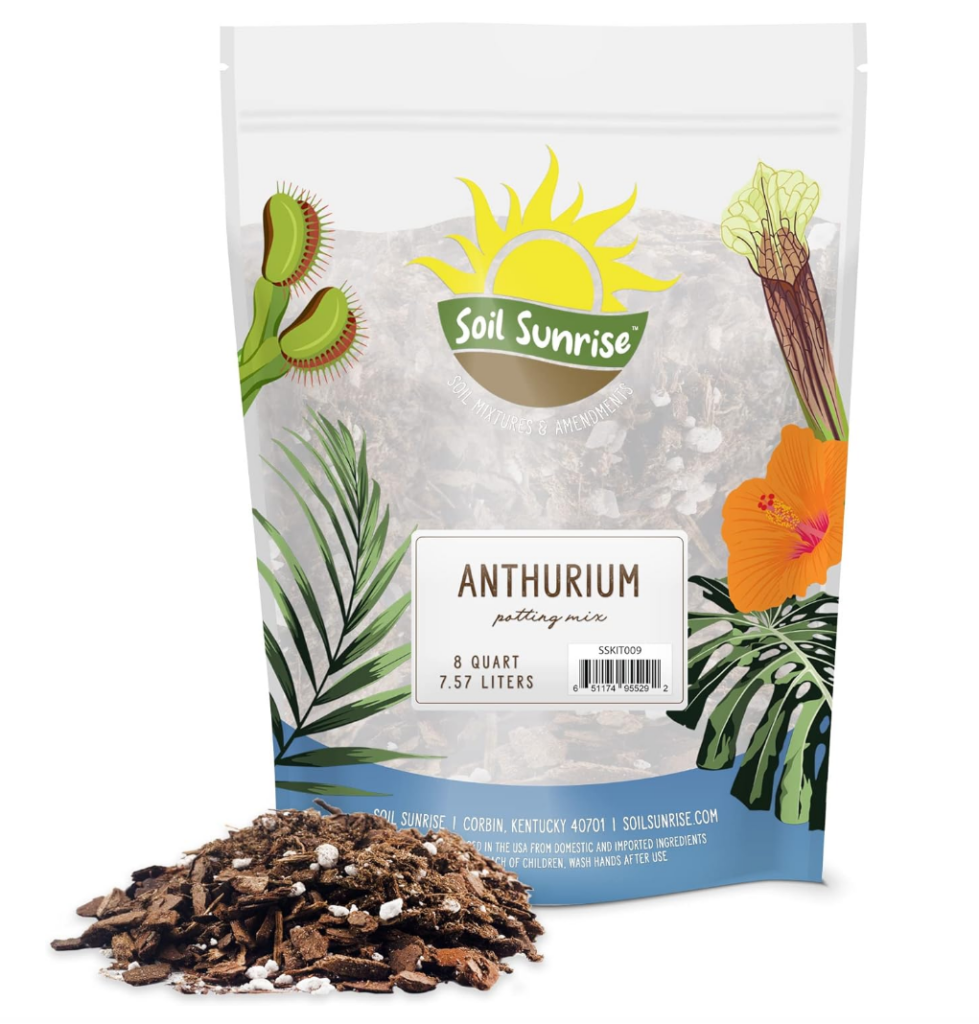
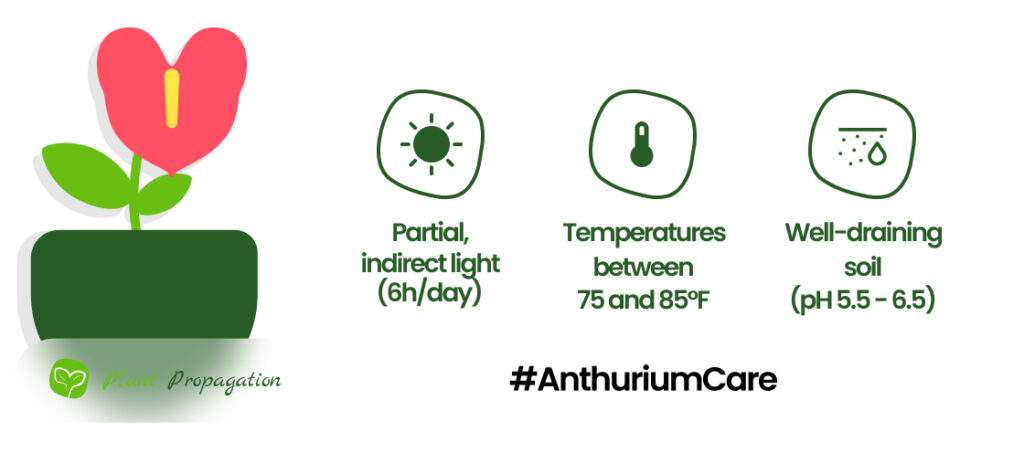
Now, about that soil. Anthuriums like a mix that’s well-draining and airy (ph 5.5 – 6.5). A combo of regular potting soil and orchid bark or perlite will make your Anthurium feel right at home. It’s like giving your plant a cozy bed.

Tools you’ll need
- Gardening Gloves: Protect your hands from dirt and your pruning shears.
- Pruning Shears or Scissors: Use these to trim any overgrown roots or dead foliage.
- Watering Can or Spray Bottle: To hydrate your plant after repotting.

Repotting Anthurium Step-by-Step
Now that you’ve got everything lined up, it’s time to get your hands dirty.
- Gentle Extraction: Imagine you’re removing your Anthurium from a tight, packed subway car. Gently slide it out of its old pot, being careful not to bruise those delicate roots. Pro tip: Watering your Anthurium a day before repotting can make it a lot easier to extract your plant.
- Root Inspection: Take a peek at the roots. Are they healthy and happy, or have they started a tangled dance party? If they’re super tangled or circling the pot, consider giving them a trim. It’s like a little haircut for your plant.
- Potting Your Plant: Place your Anthurium in its new pot, making sure it’s at the same depth as before. Then, fill in the gaps with your fresh, fluffy soil mix. Give it a little pat to make sure it’s secure but not squished. Anthuriums like some room to breathe.
- Watering after repotting: After the transplant, give your Anthurium a slight soak. It will help your plant to get used to its new home, plus you can get rid of air pockets in the soil. Let the excess water drain out; remember, no soggy feet!
- Find the Right Spot: Now that your Anthurium has a fresh start, find a cozy spot for it. Bright, indirect light is just what the doctor ordered. Avoid harsh sun rays; it’s like sunscreen for your plant.
Aftercare: Pampering Your Plant
Your Anthurium is settling into its new pot, and now it’s time to be the ultimate plant parent.
Water Wisely: Anthuriums are like the Goldilocks of watering. They prefer their soil to be slightly damp, not bone dry or waterlogged. Let the top inch or so of soil dry out between waterings.
Fertilize in the growing season: During the growing season (spring and summer), treat your Anthurium to a light monthly dose of liquid fertilizer. But in the chillier months, give it a break from fertilizing.
Keep an Eye Out: Watch those leaves—they’re like your plant’s mood ring. If they start drooping, it’s time to water. If they turn yellow, you might be overdoing it. Your Anthurium’s leaves will tell you what’s up.
Dust and Shine: Like a polished pair of shoes, your Anthurium’s leaves will benefit from a wipe-down now and then. Gently clean them with a damp cloth to keep them looking fresh.
Regular Pruning: If your Anthurium starts looking a bit unruly or leggy, don’t hesitate to give it a little trim. Pruning can encourage healthier growth and keep your plant looking sharp. You don’t want to keep old growth on your plant for too long.

So there you have it, your friendly guide to repotting Anthuriums. Remember, this is all about growth—for you and your Anthurium. With the right timing, a cozy pot, and a little TLC, your Anthurium will flourish in its new home. Happy repotting!
Frequently Asked Questions
Anthuriums don’t like to be overly root-bound, thus you need to repot them at least every 2 -3 years. The best time to repot them is spring. However, if you see signs of student growth, you should not wait with repotting at all.
Do anthuriums like to be root-bound?
Anthuriums hate to be root-bound, thus you should repot them around every 2 years. However, you cannot pot them into an oversized pot, because they have difficulties adjusting to those.
How long do anthurium plants live?
If you take good care of your Anthurium, it can live for about 5-6 years. In case you’ve grown fond of it, you can propagate it infinitely using divisions.
Do anthuriums need deep pots?
Anthuriums do not like very deep pots and they grow best in lower ones (5.5 – 9 inches) that have good drainage.
Do I need to prune the roots of my anthurium during repotting?
Pruning your Anthurium’s roots can help its growth in the long run. The first thing you are checking for is rotten or sick roots. Prune those away, then prune the roots that are too long compared to the other ones.
Can I use a self-watering pot for my anthurium?
Self-watering pots have a built-in watering system, delivering the perfect amount for optimal plant growth. They’re a match made in heaven for tropical plants like anthuriums and orchids.
