Birds of Paradise are stunning and exotic plants that can add a touch of the tropics to any indoor space. However, like all living things, they need a little TLC now and then to thrive. One essential aspect of caring for your Bird of Paradise is knowing when and how to repot them. In this article, we’ll explore why you should repot your Bird of Paradise, when to do it, the preparations you need to make, and the step-by-step process to ensure your feathered friends stay happy and healthy. Let’s learn how to repot Bird of Paradise plants in the right way!
Why Should You Repot Your Bird of Paradise?
First things first, why should you even bother repotting your Bird of Paradise? Well, the answer is pretty simple: to keep them flourishing and looking their best! Here’s why repotting is crucial:
- Root Bound Troubles: Even though they like being slightly root-bound, Birds of Paradise are notorious for outgrowing their pots every 2 years. When their roots become cramped, it can hinder their growth, reduce their overall health, and even lead to yellowing leaves. Repotting provides them with more room to spread their roots and absorb nutrients.
- Nutrient Refresh: Over time, the soil in your plant’s pot loses its nutrients, making it less fertile. By repotting, you can refresh the soil, ensuring your plant gets the nourishment it needs to thrive.
- Improved Drainage: Proper drainage is essential for the health of your Bird of Paradise. Repotting allows you to address any drainage issues by choosing a pot with the right drainage holes and freshening up the soil.
- Aesthetic Appeal: Let’s be honest; we all want our plants to look good! Repotting can be an opportunity to give your Bird of Paradise a makeover, placing them in a more attractive pot or simply cleaning up their appearance.
When to Repot Bird of Paradise
Timing is everything when it comes to repotting your Bird of Paradise. You don’t want to stress them out unnecessarily or disrupt their growth cycle. The best time to repot your Bird of Paradise plant is in the Spring when the plant is most active. Here’s when and how to tell if your plant is ready for a new home:
- Root Crowding: Check the roots by gently sliding the plant out of its pot. If you see a mass of tangled roots, it’s a sign that your Bird of Paradise is cramped and needs more space.
- Top-Heavy or Tilting: If your plant starts leaning to one side or becomes top-heavy, it’s a sign that its roots are struggling to support its growth.
- Slow Growth or Yellowing Leaves: Stunted growth and yellowing leaves can indicate that your plant is struggling to access nutrients due to exhausted soil.
- Every 2-3 Years: As a general rule of (green) thumb, consider repotting your Bird of Paradise every 2-3 years, regardless of the signs mentioned above. This routine maintenance can help prevent problems before they arise.
Preparing for repotting
Before you dive into repotting, it’s essential to gather the right supplies and make a few key decisions.
Choosing the Right Pot
- Size Matters: Choose a pot slightly bigger than the current one to balance leaf and flower growth. Going too big too soon can lead to overwatering issues, as the soil may stay too moist for too long.
- Drainage is Key: Ensure the pot has drainage holes at the bottom. Birds of Paradise don’t like sitting in waterlogged soil, so proper drainage is crucial.
- Material Style: You can choose pots made from various materials like ceramic, plastic, or terracotta. Pick one that suits your aesthetics and provides adequate insulation for your plant’s roots.
Choosing the Right Soil
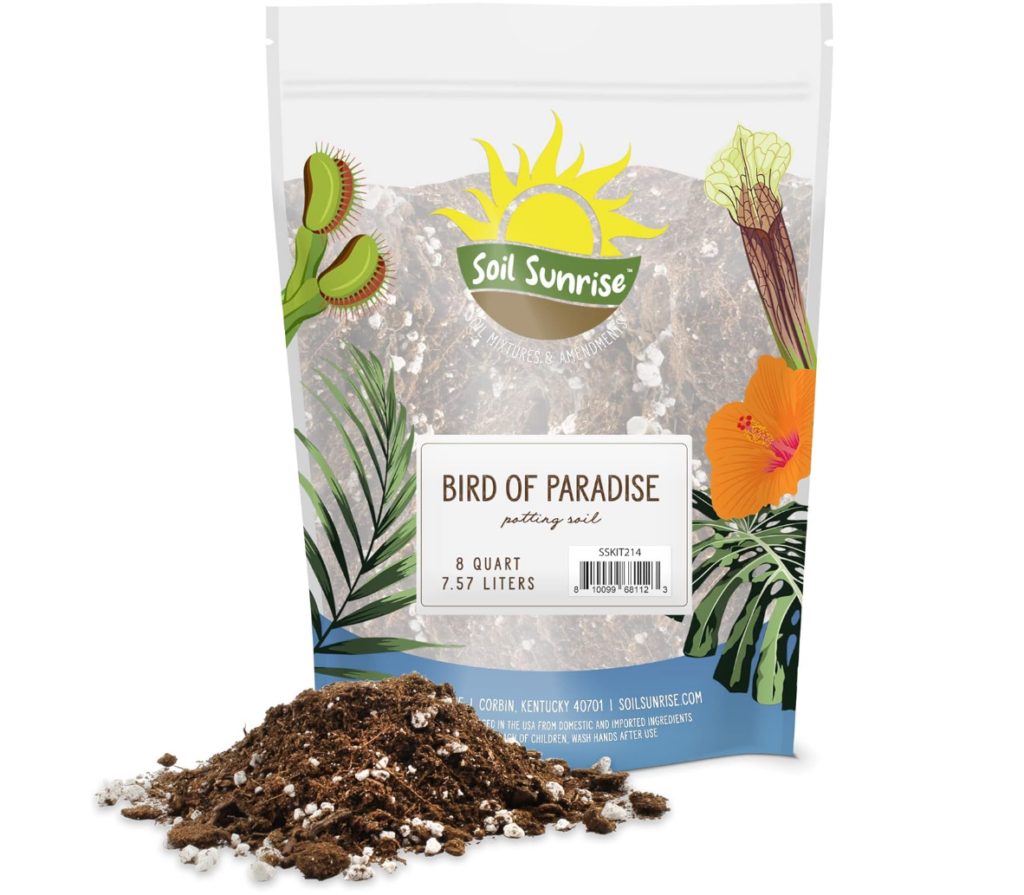
Birds of Paradise enjoy well-draining soil that retains some moisture. You can either buy a pre-mixed potting mix suitable for tropical plants – such as this one from Amazon – or create your own mix. Here’s a simple recipe:
- 60% peat-based potting mix
- 20% perlite or coarse sand
- 20% orchid bark or pine bark fines
This blend ensures good drainage while retaining some moisture, which is just what your Bird of Paradise need.

How to Repot Bird of Paradise Step-by-Step
Now that you’ve got your pot and soil sorted, let’s dive into the repotting process. Remember, it’s like giving your plant a spa day – pamper it with care!
Step 1: Preparation
- Water the Plant: A well-hydrated plant is easier to handle. Give your Bird of Paradise a good drink a day or two before repotting.
- Gather Supplies: Have everything you need within arm’s reach: the new pot, fresh soil, a tarp or newspaper to catch any mess, gloves, and a trowel.

Step 2: Remove the Plant
- Gently Slide It Out: Carefully tip the plant’s pot on its side and gently slide the plant out. You might need to tap the pot’s sides to loosen it.
- Inspect the Roots: Once it’s out, check the roots. If they’re circling the root ball tightly, use your fingers or a stick to gently tease them apart. This will encourage them to grow outwards into the new soil. Also, if you see any signs of root rot, snip those roots, but only those!
Step 3: Repotting your Bird of Paradise
- Add a Layer of Soil: Place a layer of fresh soil at the bottom of the new pot. Make sure it’s enough to provide a stable base for your plant.
- Position the Plant: Set your Bird of Paradise in the center of the new pot. Ensure it’s at the same depth as it was in the old pot.
- Fill in with Soil: Carefully add fresh soil around the sides of the plant. Leave a 2in between the top of the soil and the rim of your pot. Press the soil down gently to eliminate any air pockets.
- Water Thoroughly: Give your newly potted plant a good drink of water to help settle the soil and hydrate the roots.
Aftercare
Your repotted Bird of Paradise might look a bit droopy at first – that’s normal. It’s been through a bit of a shock, but it will bounce back. Here’s how to care for it in the days and weeks following repotting:
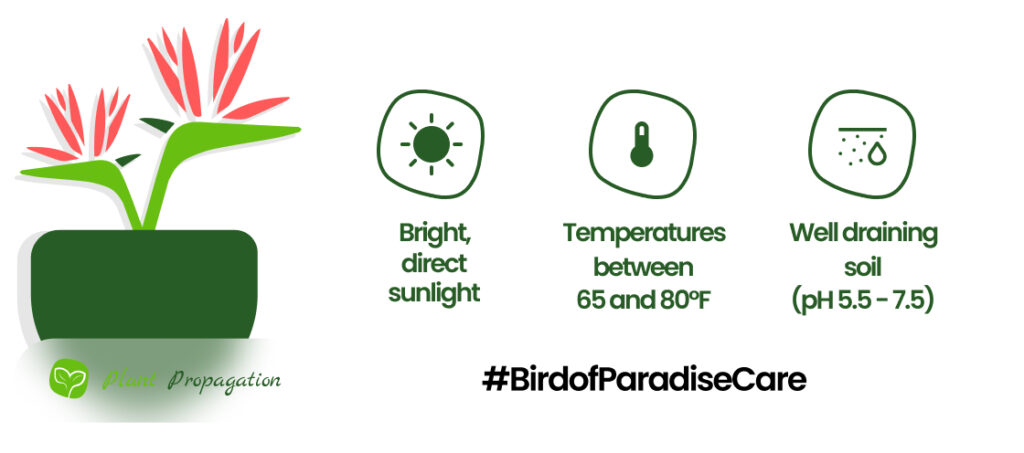
- Place It in Indirect Light: Eventhough these plants love direct sunlight, for a few days after repotting, keep your plant in indirect light. After that, put it back to its original place!
- Water with Care: Don’t overwater during the initial weeks. Let the top inch of soil dry out before watering again. This helps prevent root rot.
- Resume Normal Care: After a few weeks, return to your regular care routine. Birds of Paradise love bright, indirect sunlight and consistent moisture (not soggy, just evenly damp).

And there you have it – your Bird of Paradise will thank you for their new, roomier digs. Remember that repotting is a part of good plant parenthood, ensuring your feathered friends stay happy and healthy.
So, there you have it, a step-by-step guide to repotting your Bird of Paradise. It might seem like a bit of work, but trust us, your plants will appreciate it. Plus, it’s a great excuse to get
Frequently Asked Questions
Bird of Paradise plants like to be slightly root-bound, and that’s how they grow the best. However, if they get too big for their pot (about every two years), definitely consider repotting.
Should I water Bird of Paradise after repotting?
Watering your Bird of Paradise plant after repotting helps its roots to adjust to their new environment faster. Also, you can get rid of any air pockets that might still be in the freshly potted soil.
Can I use regular soil for repotting my Bird of Paradise?
For best results, you should always repot your Bird of Paradise in a mix of peat based potting mix (60%), perlite or coarse sand (20%) and orchid bark or pine bark fines (20%). Regular potting soil will hinder their growth.
When to repot bird of paradise?
If you have to repot your Bird of Paradise plant, always do it in the spring. The plant is more active and can get used to its new environment a lot faster. You want to lower the chances of transplant shock each time you repot a plant.
