So, you’ve got yourself a Dracaena plant, huh? Well, congrats! You’re now the proud owner of one of the most stylish and easygoing indoor plants around. These leafy wonders can add a touch of the tropics to any room, and they’re pretty low-maintenance to boot. But wait, there’s a catch – sooner or later, your Dracaena might start showing signs that it’s feeling a bit cramped in its pot. In this guide, we’ll walk you through the process of Repotting Dracaena plants the right way.
When to Repot Dracaena – Best Timing and Signs to Look Out For
Before you dive headfirst into repotting, you’ve got to know when the right time is. Dracaenas are pretty laid-back, but they still give off some signs when they’re ready for a change of scenery.
- Root Bound Woes: Check the roots. If they’re circling the pot like they’re lost in a maze, it’s time for a change. You don’t want your plant’s roots to feel like they’re living in a cramped studio apartment.
- Top-Heavy Troubles: If your Dracaena has started to lean or topple over, it’s a clear sign that it’s outgrowing its current pot. That’s your plant’s way of saying, “Hey, I need more space!”
- Stunted Growth: Is your once-vibrant Dracaena looking a bit lackluster and slow to grow? It might be because it’s running out of nutrients in its current pot. Repotting can provide fresh soil and a nutrient boost.
- Depleted Soil: If you notice that the soil in your Dracaena’s pot has become compacted, dense, or doesn’t drain well anymore, that’s a sign that it’s time for new digs.
Preparations
Before you start digging into repotting your Dracaena, it’s essential to gather your supplies and prepare your plant for the transition. Here’s what you need:
Choosing the Right Soil
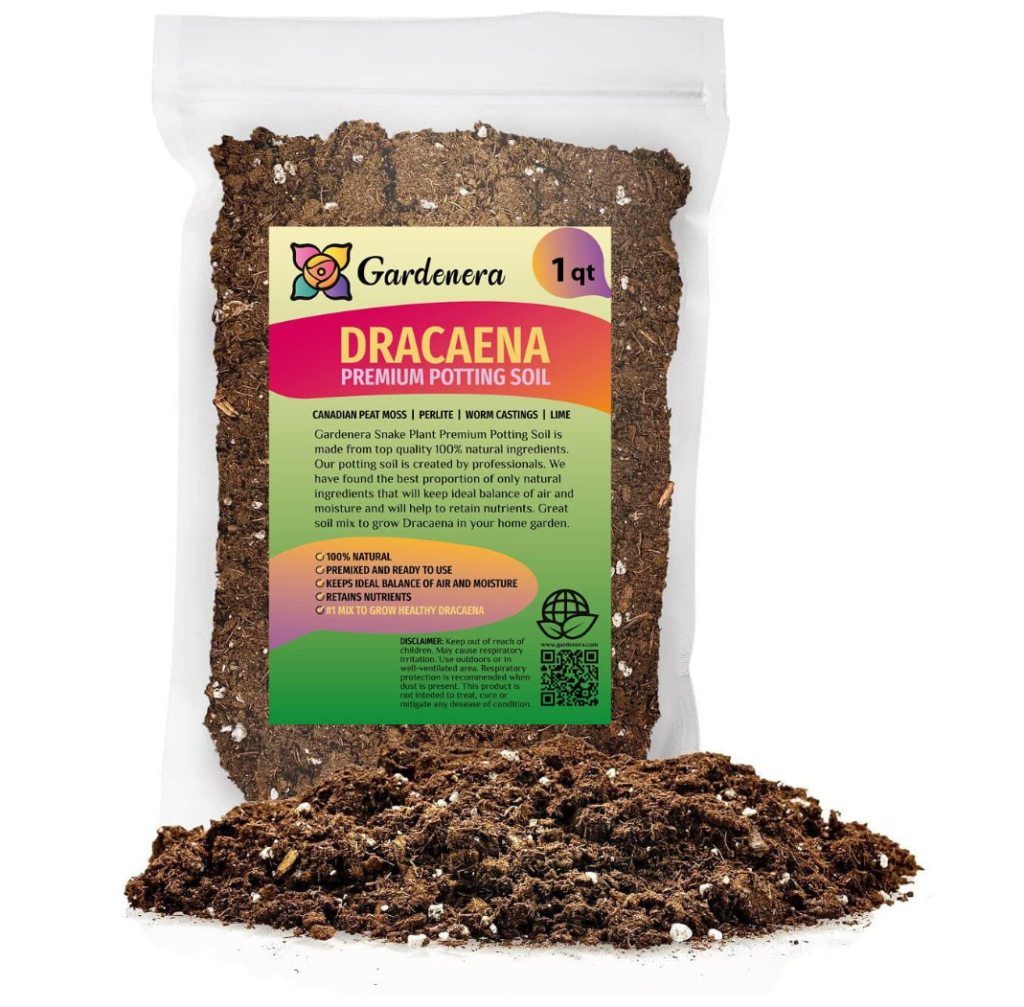
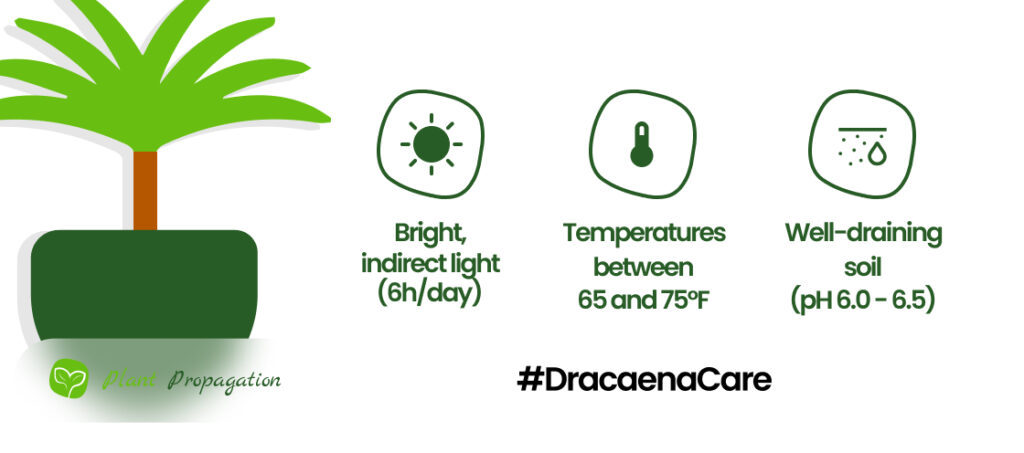
Dracaenas are pretty chill when it comes to soil, but they do have some preferences. A well-draining potting mix is key. You can use a mix formulated for indoor plants or create your own blend by combining equal parts of cactus potting soil, perlite, and peat moss. Make sure it’s fresh and not clumped together.

Choosing the Right Pot
Pick a new pot that’s only a size or two larger than the current one. Dracaenas like a bit of a cozy environment, plus going too big can lead to overwatering issues. Ensure the pot has drainage holes at the bottom to prevent waterlogging.
Tools you’ll need
- A new pot
- Fresh potting mix
- A trowel or scoop
- Pruning shears or scissors
- A watering can or spray bottle

Repotting Dracaena Step-by-Step
Now that you’ve got everything ready, let’s get down to business. Follow these steps for a smooth repotting process:
- Prepare Your Plant: Water your Dracaena a day or two before repotting. This helps loosen the soil and make it easier to remove the plant from its current pot. If it’s a large Dracaena, calling for a friend to help can be a good idea.
- Choose a New Pot: Select a clean pot with drainage holes that’s just a tad larger than the current one. Make sure it’s clean and free from any debris.
- Add Soil to the New Pot: Place a layer of fresh potting mix in the bottom of the new pot. The depth of the layer should be enough to support the Dracaena’s root ball.
- Remove the Dracaena: Gently turn the old pot upside down, holding the Dracaena’s base with your hand. Tap or wiggle the pot until the plant slides out. If it’s being stubborn, give the sides of the pot a gentle squeeze to loosen the root ball. Wors case scenario, you can cut open the old pot using your pruning shears.
- Loosen the Roots and prune them if needed: Examine the root ball and gently tease out the roots if they’re tightly bound. This helps the roots adapt to the new soil better. Also look for sick, rotten roots that need snipping. You don’t want to transplant your Dracaena with sick roots.
- Place in the New Pot: Set your Dracaena in the new pot, ensuring that the top of the root ball sits slightly below the rim. Fill in the space around the root ball with fresh potting mix, pressing it down gently to eliminate air pockets.
- Water Thoroughly: Give your repotted Dracaena a good soak with room-temperature water. This helps settle the soil and ensures the roots are in contact with the new mix. Let excess water drain out through the bottom holes.
Repotting Large Dracaena Plants

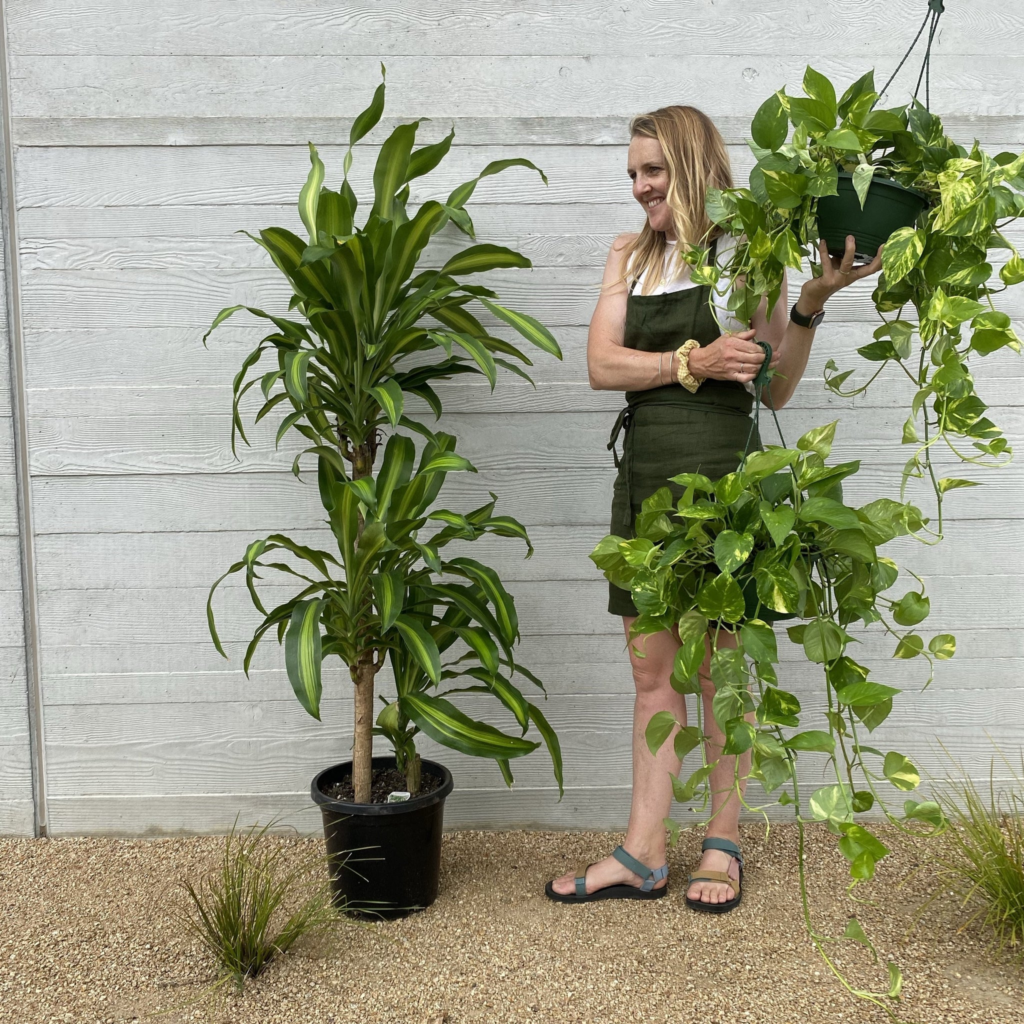
Repotting Large Dracaena Plants: For larger Dracaena plants, the process is pretty much the same, but it can be more of a workout. You may need some extra hands to help lift and stabilize the plant. Here are some additional tips for repotting larger specimens:
- Use a sturdy, wheeled plant caddy to move the pot and plant around easily.
- Consider pruning some of the top growth if the plant is too tall or unruly. This can make handling and repotting more manageable.
- When placing the Dracaena in the new pot, make sure it’s centered and stable. This is especially important for larger plants and you don’t want it toppling over after all your hard work.
Aftercare
Your Dracaena is now in its fresh, roomy digs, but there are a few things to keep in mind as you help it settle into its new home:

- Give It Some Space: Place your freshly repotted Dracaena in a spot with bright, indirect sunlight. It’s best to avoid direct sunlight, as it can stress the plant after repotting.
- Go Easy on Water: Let the top inch or two of soil dry out before watering your Dracaena again. Overwatering can lead to root rot, which is a major no-no.
- Be Patient: Your Dracaena might need some time to adjust to its new home. Don’t be alarmed if it looks a bit droopy or tired for a few days – it’s just getting used to the change.
- Fertilize Wisely: Wait at least a month after repotting before fertilizing your Dracaena. Then, feed it with a balanced liquid fertilizer every month during the growing season (spring and summer).
- Keep an Eye Out: Continue to monitor your Dracaena’s growth and overall health. It should perk up and thrive in its new pot over time.
So, there you have it – the ins and outs of repotting your beloved Dracaena. Remember, it’s like giving your plant a new lease on life, a chance to spread its roots and grow to its full potential. With a little TLC and a well-timed repotting session, your Dracaena will continue to thrive and bring a touch of greenery to your indoor oasis. Happy gardening!
Frequently Asked Questions
Preferably in spring – before the growing season -, but you can repot your Dracaena any time if you see signs of stunted growth or a root-bound situation. These plants generally need repotting every 3-4 years.
Does Dracaena like to be root-bound?
Dracaena plants like to be slightly root-bound, thus repotting them becomes necessary only once every 3-4 years.
Do Dracaena like big pots?
Since Dracaena plants like to be slightly root-bound, they don’t do well in large pots. When you repot them, make sure you go for a pot that is only 1-2 sizes larger than the current one.
Why is my Dracaena dying after repotting?
Most of the time when Dracaena plants go into transplant shock, it is due to overwatering. You need to make sure that their soil is moist but not wet. If drying up the soil does not help, you can try adding liquid Vitamin B1 to the mix.
Can you use regular potting soil for Dracaena?
Dracaena plants prefer well-draining soil mix that you can make by mixing cactus soil with perlite. Regular potting soil is not the best choice, but it can do the trick.
