Amaryllis plants are a delightful addition to any home, gracing us with their stunning, trumpet-shaped blooms. However, like any living thing, they occasionally need a change of scenery – or should we say, a change of soil! In this step-by-step guide for Repotting Amaryllis, we’ll walk you through everything, from knowing when it’s the right time to do so, to selecting the perfect pot and soil, and then tending to your plant post-repotting.
When to Repot Amaryllis: Signs and Timing
Before we dive into the nitty-gritty of repotting, it’s essential to recognize the signs that your amaryllis is ready for a new home. Typically, you should consider repotting your amaryllis:
- Every 3-4 Years: Amaryllis generally benefits from repotting every 3-4 years, preferably in the fall. This interval allows them to refresh their soil and grow comfortably without becoming root-bound.
- Crowded Roots: If you notice the roots circling the pot or becoming cramped, it’s a sure sign that your amaryllis needs more space to spread out.
- Decreased Blooms: If your once prolific bloomer isn’t producing as many flowers as it used to, it could be due to exhausted soil or overcrowding.
- Soil Depletion: Over time, the nutrients in the potting soil can become depleted, making it essential to provide fresh, nutrient-rich soil.
- Disease or Pest Issues: If your plant has been battling persistent pests or diseases, repotting into fresh soil can help it recover and thrive.
Preparations
Before you embark on the repotting journey, make sure you have everything you need on hand.
Choosing the Right Pot
Select a pot that’s slightly larger than the current one. Amaryllis prefer to be slightly root-bound, so don’t go overboard with a massive pot. A pot that’s 1-2 inches wider in diameter than the bulb should do the trick.
Choosing the Right Soil
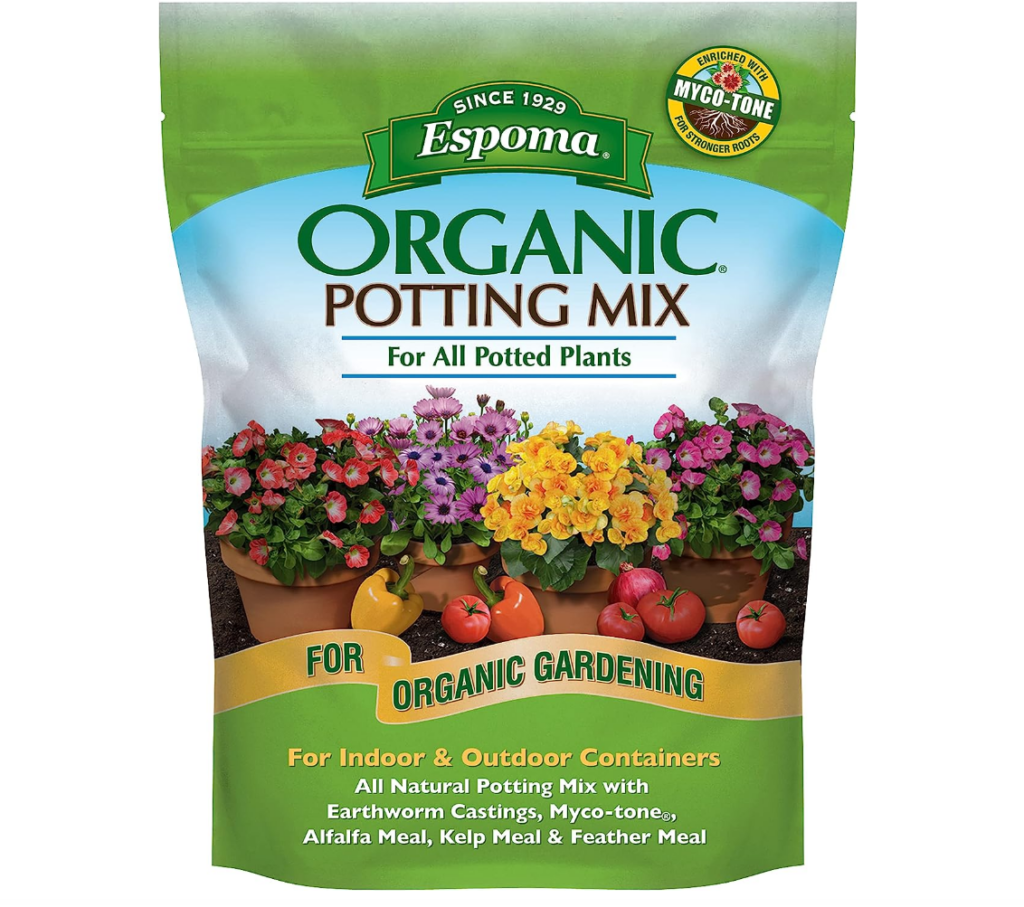
Amaryllis thrive in well-draining soil that’s rich in organic matter. You can either buy a commercial potting mix suitable for bulbs – such as this Organic Potting Mix on Amazon – or create your own by mixing equal parts potting soil, perlite or sand, and compost.

The Tools you’ll need
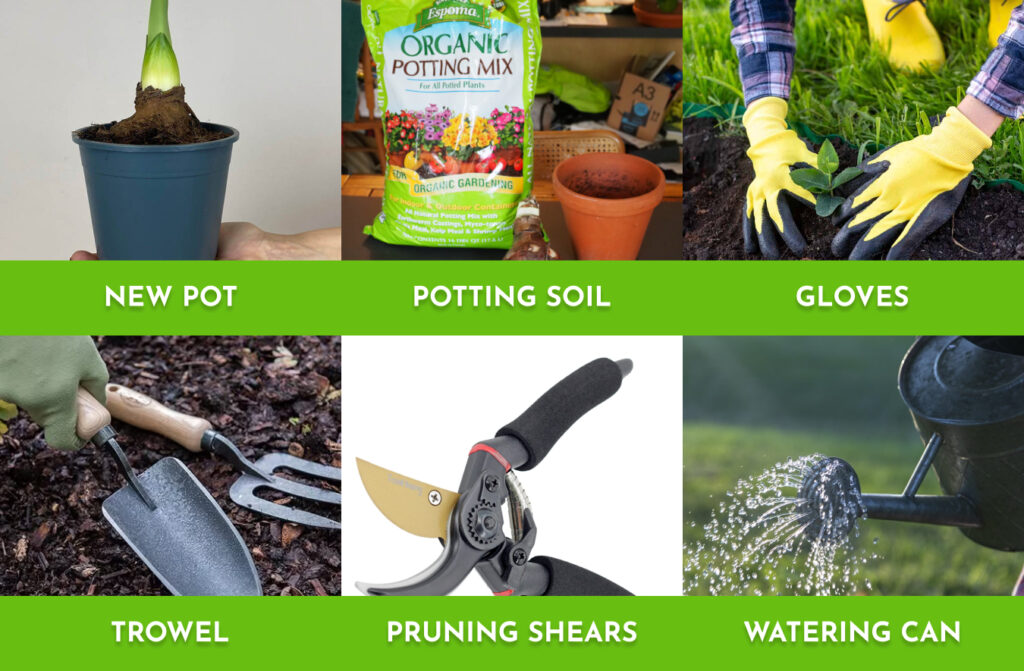
Gather the necessary tools, including the new pot, the new soil, gardening gloves, a trowel or garden spade (if your plant is on the larger size), pruning shears, and a watering can.

Repotting Amaryllis Step-by-Step
Now, let’s get our hands dirty, or should we say, our hands in the soil!
- Gently Remove the Amaryllis: Carefully remove the amaryllis from its current pot. If it won’t come out, run a knife around the inside of the pot to loosen the root ball. Be gentle to avoid damaging the bulb or its roots. You can damage the old container if you must, but be careful around the plant.
- Shake off Excess Soil: Gently shake off the old soil from the roots. You can also use your fingers or a soft brush to remove any clinging soil. Don’t be too aggressive; amaryllis roots are quite fragile.
- Examine the Bulb: Take a moment to inspect the bulb for any signs of rot or damage. If you spot any issues with the roots, trim away the affected areas with a clean, sharp pair of scissors or pruning shears.
- Add Soil to the New Pot: Fill the bottom of the new pot with a few inches of your chosen potting mix. This will provide a foundation for the bulb.
- Position the Bulb: Place the amaryllis bulb in the center of the pot, making sure that it sits at the same depth as it was in the old pot. Leave about an inch or so of space between the bulb and the pot’s edge.
- Fill with Soil: Gently fill the pot with the potting mix, ensuring that the roots are well-covered, but the neck of the bulb is free. Pat down the soil lightly as you go to remove air pockets.
- Water Thoroughly: After repotting, give your amaryllis a good drink of water. This will help settle the soil and hydrate the plant. Allow excess water to drain from the bottom of the pot.
- Place in Adequate Light: Put your freshly repotted amaryllis in a bright, indirect light spot. Too much direct sunlight can scorch the leaves, so find a happy medium.
- Resume Regular Care: Continue to care for your amaryllis as you normally would. This includes watering when the top inch of soil feels dry, feeding with a balanced liquid fertilizer during the growing season, and turning the pot occasionally to encourage even growth.
Aftercare
Your amaryllis has settled into its new home, but the work isn’t over yet. Here’s what you need to do to ensure your plant thrives post-repotting:
- Monitor Moisture: Pay close attention to the soil’s moisture level. Amaryllis prefers to be kept slightly moist but not waterlogged. Water sparingly during the dormant period, and gradually increase the frequency as the plant begins to grow.
- Fertilize Wisely: Start feeding your amaryllis with a balanced fertilizer (10-10-10 or similar) when you see new growth. Follow the package instructions for dosage, and don’t over-fertilize, as this can harm the plant.
- Support Stems: As your amaryllis grows, it may produce tall, top-heavy stems that can lean or even break. Consider using stakes or bamboo supports to prop up the flowering stalks, keeping them upright and preventing damage.
- Prune Spent Blooms: After your amaryllis has finished flowering, remove the spent blooms by snipping them off near the base. This encourages the plant to redirect its energy towards bulb growth.
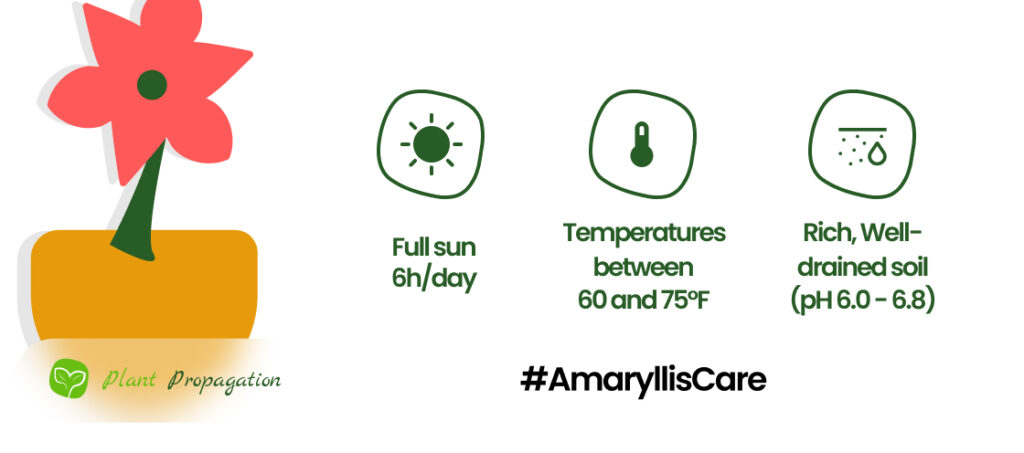
- Maintain Temperature: Amaryllis thrive in temperatures between 65-75°F (18-24°C). Avoid exposing them to extreme cold or heat, as this can stress the plant.
- Keep an Eye on Pests: Regularly inspect your amaryllis for signs of pests like aphids or mealybugs. If you spot any unwelcome visitors, treat the plant promptly with insecticidal soap or neem oil.

Repotting your amaryllis may seem like a daunting task, but with the right timing and a bit of care, it can breathe new life into your cherished plant. Remember to assess the signs, choose the right pot and soil, and be careful around the bulb!
Frequently Asked Questions
Mature and thriving amaryllis bulbs have the remarkable ability to generate so called secondary “offset” bulbs that can be separated and planted independently, effectively giving you new plants. Amaryllis can be propagated through a process known as bulb sectioning, which involves carefully dividing the bulb into sections and planting them separately—a great way to expand your amaryllis collection.
Should i cut the roots off my amaryllis?
When you are repotting your amaryllis, only cut rotten, or visibly sick roots. This will help its growth in its new environment without putting too much stress on the plant.
When to transplant amaryllis?
You should repot your amaryllis every 3 – 4 years, preferably in the fall. This will give your plant the best chance to recover from repotting quickly.
Do amaryllis pots need drainage holes?
To avoid a waterlogged situation and possible root rot, always choose a pot with the proper amount of drainage holes. Very few plants like to be in soggy soil, and Amaryllis is not one of them.
Should I water Amaryllis after repotting?
After repotting, give your amaryllis a good drink of water. This will help settle the soil and hydrate the plant. Allow excess water to drain from the bottom of the pot.
