Venus Fly Traps, those captivating carnivorous plants, have a special place in the hearts of many plant enthusiasts. With their snapping jaws and elegant green foliage, they’re like nature’s own little bug-catching superheroes. But just like any other plant, Venus Fly Traps occasionally need a change of scenery – a repotting, if you will. In this guide, we’ll show you how to give your Venus Fly Trap a new lease on life and keep it thriving.
Why should you Repot your Venus Fly Trap Plant?
Imagine living in the same cramped space for years without a change of clothes or a breath of fresh air – not ideal, right? Well, your Venus Fly Trap feels the same way about its potting medium. Over time, the peat moss and perlite mix in the pot can break down, become compacted, and lose its ability to retain water and nutrients. This can lead to unhappy and unhealthy plants.
Repotting allows you to refresh the potting medium, remove any accumulated minerals, and ensure that your plant has enough room to stretch its roots and grow.
When to Repot
Timing is everything, and Venus Fly Traps are no exception. The best time to repot this plant is in the spring or early summer, every 2-3 years, but here are a few indicators that it might be time to repot your plant:
- Overcrowding: If your Venus Fly Trap is starting to look like a sardine in a can, with its traps and new pups spilling over the sides of the pot, it’s time to consider repotting.
- Slow Growth: If your plant seems sluggish in its growth, plus you can spot yellowing leaves despite receiving proper care and ample sunlight, it might be struggling due to a crowded or exhausted potting medium.
Preparations
The Tools You’ll Need
Before you get your hands dirty, gather the following supplies:
- A new pot: Choose a pot that’s just slightly larger than your current one, with drainage holes. A 4-inch pot is typically a good size, but it really depends on the size of your plant.
- Fresh potting mix: Use a mix of sphagnum peat moss and perlite. Avoid garden soil, as it contains minerals that can harm your plant. This potting mix is a pretty good choice.
- Distilled water: Venus Fly Traps are sensitive to minerals in tap water, so it’s best to use distilled or rainwater.
- Pruning shears or clean scissors: In case you need to cut away some mushy, rotten roots.

Choosing the Right Pot
While Venus flytraps stay relatively small, even at maturity, their root systems can grow fairly deep so choosing a pot with some depth to it is beneficial for the plant. A minimum pot depth of 4 inches is recommended so that the roots can develop while keeping the majority of the water away from the rhizomes.
Also, when grown indoors insulation is less of a concern as they can be temperature-controlled more easily, but typically leaving extra room around the rhizomes so that the potting medium can buffer them from extreme heat or cold is a good idea. This may mean choosing a larger pot for your Venus flytrap. In most cases, plastic pots are best for Venus flytraps. Why? These plants are pretty sensitive to minerals, thus choosing a synthetic material is the way to go.
Choosing the Right Soil
Selecting the right soil for your Venus flytrap is essential. These plants are quite particular about their soil. Venus flytraps thrive in acidic, nutrient-poor conditions, similar to their native habitats in the Carolinas. So, regular potting soil or nutrient-rich mixes won’t cut it – they can harm your plant.
When repotting, opt for a carnivorous plant soil mix. You can either buy it or create your blend. If you’re making it yourself, go for a 1:1 mix of unenriched peat moss and perlite. The peat moss provides the acidity your Venus flytrap loves, while perlite helps retain moisture. This combo mimics their natural home, ensuring your plant flourishes.
How to Repot Venus Fly Trap Plants Step-by-Step
Now, let’s dive into the repotting process to give your Venus Flytrap a fresh start:
- Water Your Venus Flytrap: A day or two before repotting, water your plant thoroughly with distilled water. This pre-hydration helps the roots stay moist during the repotting process.
- Prepare the New Pot: Fill the new pot with the fresh potting mix, leaving space at the top for your Venus Flytrap. Using your finger, create a small hole in the center to accommodate the plant.
- Remove the Plant: Carefully extract your Venus Flytrap from its current pot. Gently loosen the soil around the roots to facilitate removal. If it’s stubbornly stuck, use a thin stick or spoon handle to assist. Be very careful not to damage the traps!
- Inspect the Roots: Using your fingers, clear the old soil from the roots. Once you can take a good look at them, trim away any mushy, or rotting roots with clean, sharp scissors.
- Plant Your Venus Flytrap: Position your Venus Flytrap in the center of the new pot, ensuring the roots are well-spread and embedded in the potting mix. Gently firm the soil around the plant, but avoid excessive compaction.
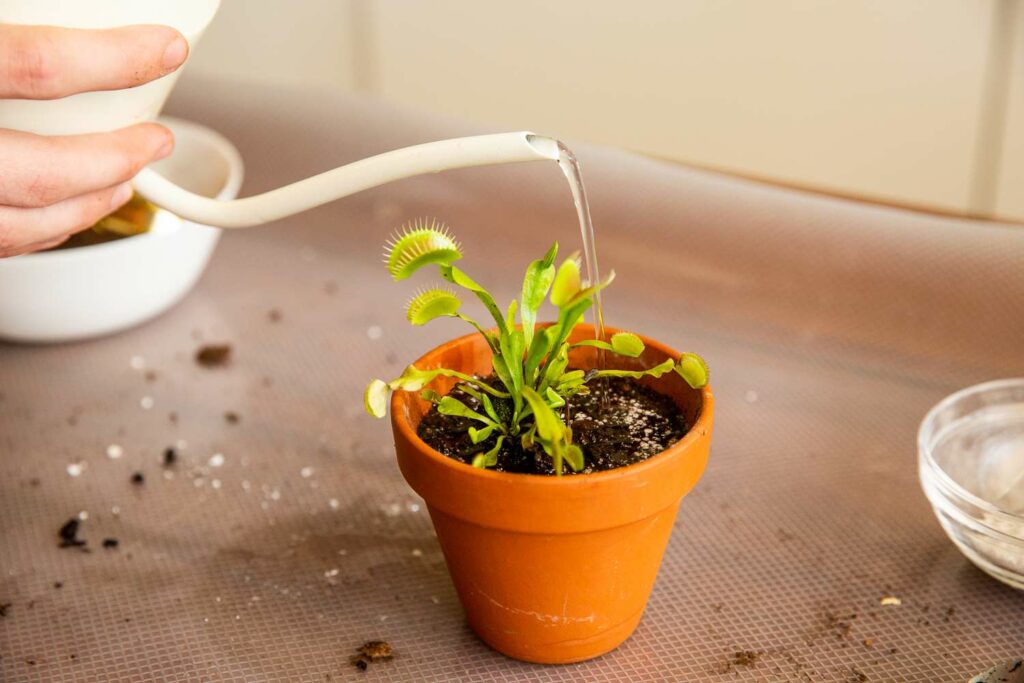
- Water and Settle: Water your newly potted Venus Flytrap with distilled water until it starts to drain from the pot’s bottom. This action helps settle the soil and eliminates air pockets around the roots.

Aftercare
Your Venus Fly Trap should recover in about a week after repotting, but here are some tips for the best results:
- Feeding: While Venus Flytraps can capture their own prey, supplement their diet with occasional small insects like houseflies or ants if they aren’t catching enough on their own.
- Humidity: Venus Flytraps appreciate some humidity. Consider placing the pot on a humidity tray or misting the plant periodically to maintain suitable moisture levels.
- Winter Dormancy: During winter, your Venus Flytrap may enter a dormant phase. This is normal, and it will have fewer traps and require less water. Reduce watering and place it in a cooler location (35-50°F or 2-10°C).
- Avoid Disturbing Traps: Resist the urge to touch or trigger the traps, as this can cause undue stress to your plant.

In conclusion, repotting your Venus Flytrap is a vital task to ensure its sustained health and growth. By following these steps and providing proper aftercare, you’ll help your remarkable carnivorous plant continue to thrive and captivate observers with its unique feeding mechanism. Happy repotting!
Frequently Asked Questions
If you want your plant to thrive, it’s best to repot it in the spring or early summer, about every 2-3 years. Keep an eye out for slow growth and yellowing leaves, as these are signs that your plant may need a new pot.
Do Venus flytraps like big pots?
Choose a pot with a hole in the bottom that matches the size of your plant. Venus Flytraps do well in a 3″ pot, while larger plants need a 4″ or 6″ pot. Most pitcher plants thrive in a 4″ pot.
Can I use tap water to water my Venus flytrap after repotting?
You should always use distilled water for carnivorous plants such as the Venus Fly trap. Every now and then they can take it, but watering your plant with tap water all the time will kill it. It is especially a bad idea to use tap water right after repotting, because the whole process is stressful enough for your plant.
What should I do if my Venus flytrap wilts or shows signs of stress after repotting?
Only use distilled water for your Venus Fly trap, and make sure that the soil is only must, but not soggy. Your plant should recover in about a week after repotting.

