Philodendrons, those lush green beauties that bring a touch of the tropics to your home, can be fantastic companions. They require little maintenance, look stunning, and even purify the air. However, like all good relationships, they need a little TLC now and then. One essential part of caring for your Philodendron is knowing when and how to repot it. In this guide, we’ll walk you through the why, when, and how to repot Philodendron plants, so your leafy friends can thrive.
Why Should you Repot your Philodendron?
Long story short: It rejuvenates and refreshes your Philodendron, helping it grow vigorously. Here are a few compelling reasons to consider repotting your green companion:
- Root Bound Woes: Philodendrons are known for their adaptability, and they can get a little cramped in their pots. When the roots start circling the pot’s bottom or poking out of the drainage holes, it’s time for a new home. Repotting ensures your plant has ample room to spread its roots.
- Soil Depletion: Over time, the potting soil loses its nutrients, making it less hospitable for your Philodendron. Repotting provides a fresh start with nutrient-rich soil, allowing your plant to thrive.
- Health and Growth: A larger pot and fresh soil provide your Philodendron with more nutrients and space to grow. This can result in lusher foliage and a healthier plant overall.
When to Repot Philodendron?
Now that you’re convinced of the benefits, let’s talk timing. You don’t want to disrupt your plant’s growth unnecessarily. Here are some signs it’s time to repot your Philodendron:
- Roots Outgrowing the Pot: If you see roots escaping from the drainage holes or circling the bottom of the pot, it’s a clear indicator that your Philodendron needs a bigger home.
- Slow Growth: If your Philodendron has stopped growing or its leaves look smaller and less vibrant than usual, it might be struggling to find nutrients in its current soil.
As far as timing goes, the best if you do the repotting in the active growing season, Spring or Summer. Your Philodendron will have a much easier time to adjust to its new environment.
Preparations
Before you dive into repotting your Philodendron, it’s essential to gather the right tools and materials.
Tools you’ll need
Repotting your Philodendron doesn’t require a fancy toolkit, but having the right tools on hand can make the process smoother. Here’s a short list of essential tools you’ll need:
- New Pot: Choose a pot that’s 1-2 inches larger in diameter than the current one, with drainage holes at the bottom.
- Potting Mix: Prepare a well-draining potting mix, which includes potting soil, perlite or orchid bark, and organic matter like compost or coconut coir.
- Watering Can: A watering can with a narrow spout allows for precise watering without over-saturating the soil.
- Scissors or Pruning Shears: You’ll need these for trimming any dead or rotting roots during the repotting process.

Choosing the right Pot
Selecting the right pot is like picking a home for your plant. Here’s what you should consider:
- Size Matters: Go for a pot that’s 1-2 inches larger in diameter than the current one. This provides your Philodendron with enough space to grow but prevents it from feeling lost in a sea of soil.
- Drainage is Key: Ensure the new pot has drainage holes at the bottom. Adequate drainage is crucial to prevent waterlogging, which can lead to root rot.
- Material Matters: Consider pots made of terracotta, ceramic, or plastic. Each has its advantages, so pick one that suits your style and watering habits. Terracotta allows for better air circulation but dries out faster, while plastic retains moisture longer.
Choosing the right Soil
Philodendrons appreciate well-draining, nutrient-rich soil. You can either buy a pre-made mix or create your own. Here’s a simple DIY mix:
- Potting Soil: Use a high-quality, well-draining potting mix as the base.
- Perlite or Orchid Bark: Add perlite or orchid bark to improve aeration and drainage. Aim for a 1:1 ratio with the potting soil.
- Organic Matter: Incorporate some organic matter like compost or coconut coir for added nutrients.

How to Repot Philodendron Step-by-Step
Repotting your Philodendron might sound daunting, but it’s a straightforward process. Follow these steps, and you’ll be a pro in no time:
- Water the Plant: Before a day you plan to repot your Philodendron, give it a good watering. This helps loosen the roots and reduces the stress of transplanting.
- Prepare the New Pot: Fill the new pot with the fresh potting mix you’ve prepared, leaving enough space at the top for your Philodendron.
- Remove the Plant: Gently turn the old pot upside down and tap it to release the plant. If it’s stubborn, use your hand to loosen the soil and carefully lift the plant out.
- Inspect and Prune: Take a close look at the roots. Trim any dead or rotting ones with clean, sharp scissors or pruning shears. This promotes healthy growth.
- Position the Plant: Place your Philodendron in the center of the new pot, ensuring it’s at the same depth as it was in the old one. Fill in the sides with fresh soil, gently patting it down as you go to remove air pockets.
- Water Thoroughly: Give your newly potted Philodendron a good soak. This helps settle the soil and hydrate the plant.
Aftercare
Your repotting mission is complete, but there are a few things you should keep in mind to ensure your Philodendron thrives in its new home:
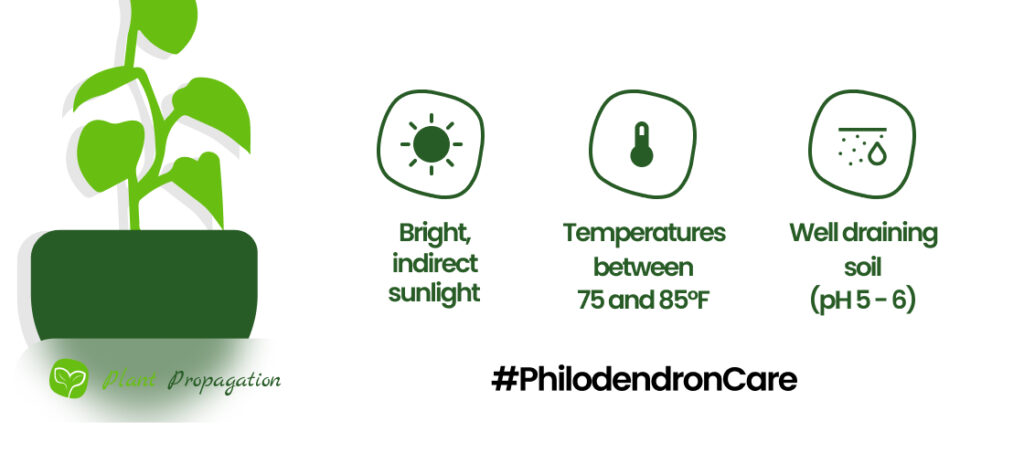
- Give it Some Space: Place your Philodendron in a spot with indirect sunlight. It enjoys bright, filtered light but can tolerate lower light conditions. Avoid placing it in direct sunlight, as this can scorch its leaves.
- Water Wisely: Allow the top inch or so of the soil to dry out before watering. Overwatering can lead to root rot, so it’s better to err on the side of underwatering.
- Fertilize Occasionally: It is not a must, but during the growing season (spring and summer), feed your Philodendron with a balanced, liquid fertilizer diluted to half strength. After about 4-6 weeks of repotting, you can do this every month to provide some additional nutrients.
- Prune and Maintain: Keep an eye out for any yellowing or brown leaves and prune them to encourage healthy growth. Regularly dust or wipe the leaves to keep them clean and free from dust.
- Repot When Needed: Repot your Philodendron every 2-3 years or when you notice signs of root-bound growth or declining health.

Frequently Asked Questions
Philodendrons are pretty quick growers, thus repotting them annually or every 2 years is basically a must. If your Philodendron becomes rootbound, it is time to repot.
Do philodendrons like to be root bound?
Philodendrons tolerate being in a bit of a root-bound situation, but it can hinder their growth. Repot them every 1 – 2 years to keep them healthy.
How often should I water my philodendron after repotting?
It is very important to give a good watering to your philodendron after repotting. The following weeks can be especially tough for your plant, so whenever its soil becomes dry, it is time for another shower session.
Do I need to fertilize my philodendron after repotting?
If you use a proper potting mix, there is no need to fertilize your philodendron after repotting. Just pay attention to watering.
Do philodendrons like humidity?
Philodendrons thrive in high humidity levels (around 70%). If the humidity level drops below 50%, it can harm your plants.

