If planted in pots, Monstera deliciosa plants should be placed in larger ones after a while to encourage root growth. Repotting is also essential for them because the roots will continue to grow and one day they will hit the wall and will no longer be able to grow healthily, affecting the life of the plant.
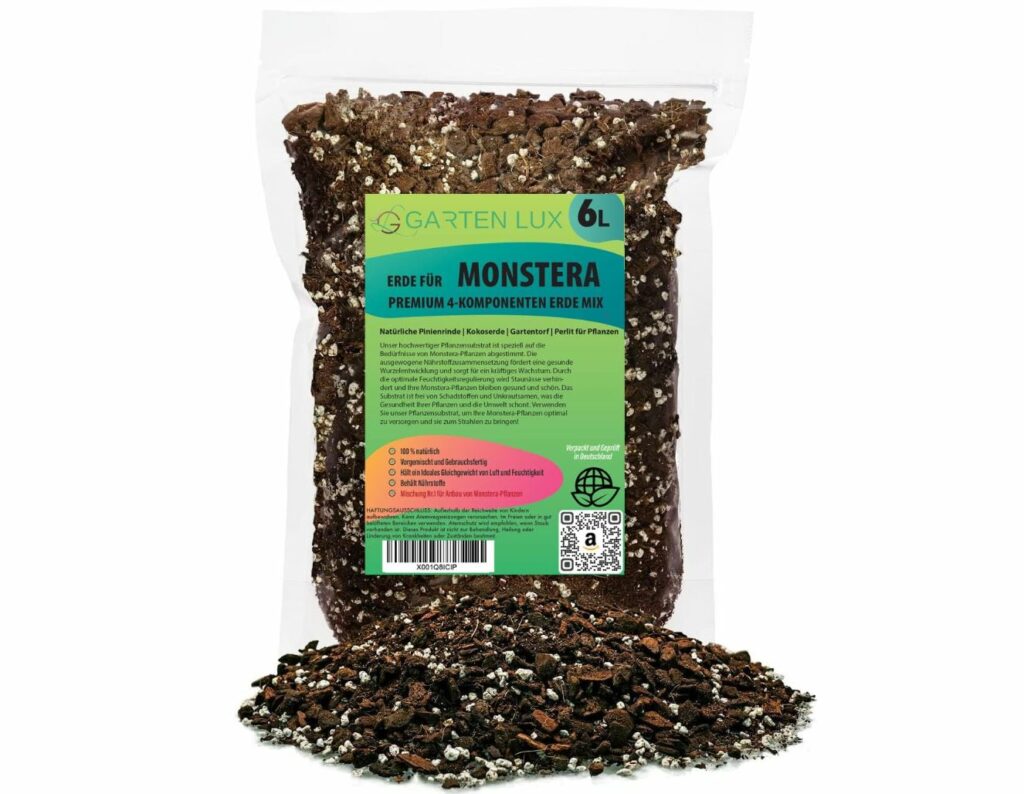
You should replant monsteras in the early springtime when roots are most active and growth is most efficient. Monstera plants need moist soil with an acidic pH of about 5.5 to 6.5. For the soil mix, peat moss/coconut fiber, perlite, and pine bark are recommended to promote good drainage.
You may also have to cut back the roots. In this case, you can use pruning shears to cut them. The roots grow with the plant, so you need to consider how much to cut back the roots. Whether your monstera plant is small or large, the steps for replanting it remain the same. Whether your monstera plant is small or large, the steps for replanting it remain the same.

How to repot monstera plants step-by-step?
The steps for repotting monstera plants are below.
- Prepare the new pot: Fill the new pot one-third full with fresh soil (without perlite). You can pour the new soil directly into the new pot, no watering is necessary at this point.
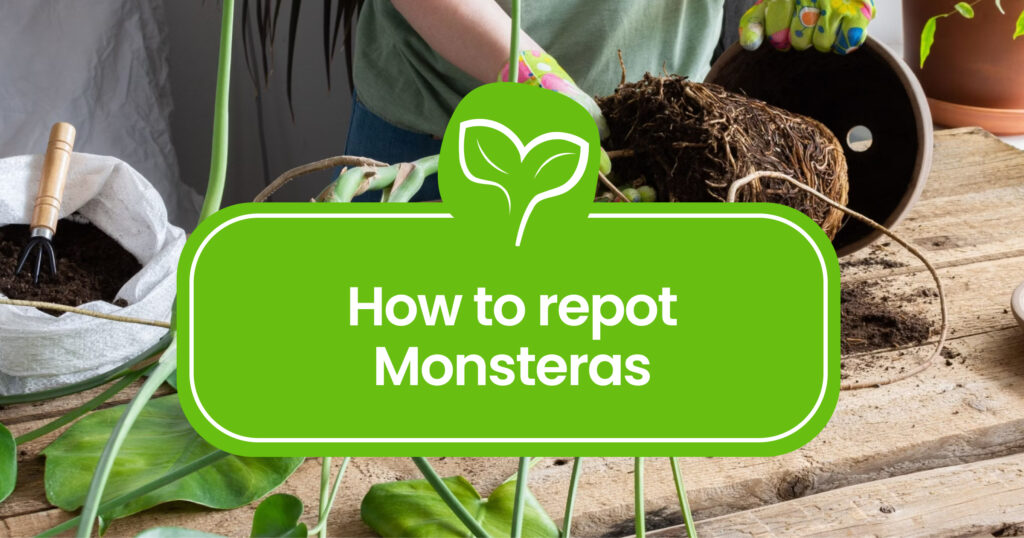
- Remove the plant from its pot: To remove the plant from the old pot, first grip it at the base where the stems are the thickest. Try to pull the plant out while carefully pulling the pot in the opposite direction. Try to loosen the roots from the soil to help with weaning.
- Clean up the roots: Next, let’s take a look at the roots of the plant. Look for roots that are already dead and cut them off. Loosen any clumped roots and prune off those that are seemingly holding back new root shoots.
- Place it into the new, bigger pot: Put the plant in the new pot and try to place it in the center. Keep an eye on the position while adding the new soil mix to the pots – it needs to stay in the center. Also, make sure it is not planted lower in its new pot than it was. The rootball need to be 2 inches from the top of the pot. If you went a bit over the top with the soil, just remove some of it.
- Water the monstera plant: Don’t forget to water your monstera plant after replanting it. This is crucial to help the plant adjust to its new environment, as replanting can be stressful. Giving it a good watering will give it the boost it needs to thrive in its new location.
Aftercare
You’ve successfully repotted your monstera plant. Now, let’s ensure it thrives in its new home:
- Watering: Keep the soil consistently moist but not waterlogged. Water when the top inch of the soil feels dry. Be mindful not to let the pot sit in standing water, as this can lead to root rot.
- Fertilizing: Feed your monstera with a balanced liquid fertilizer every 2-4 weeks during the growing season (spring and early summer). A high nitrogen grass or lawn fertilizer (such as this) should do the trick.
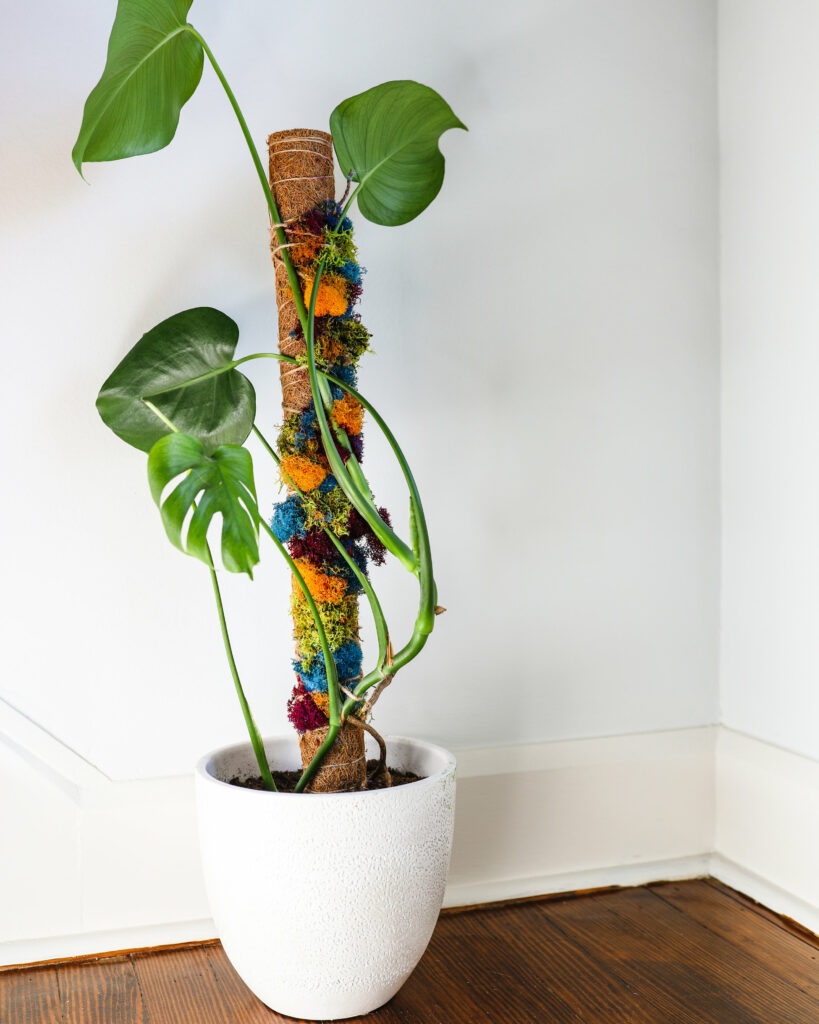
- Support: If your monstera grows tall and needs support, consider using moss pole or decorative supports to prevent it from toppling over.
How to repot a monstera with moss pole?
If your monstera plant is on a moss pole, you will have to do the transplanting a little differently. There are two ways to do it: either you keep the old pole or you use a new one.
- When choosing to keep the old plant, it is important to remove the rod along with the plant and place it in the new pot. Take care to avoid causing any harm to the part of the plant that is connected to the rod.
- Alternatively, when using a new pot, you can place the new rod into the pot before pouring the soil mix.
When transplanting the monstera, make sure to delicately detach the flower parts from the previous pole and extract it from the soil. While transferring the plant to a fresh pot, carefully rotate the plant onto the new support rod.
When using a moss pole, it’s really important to make sure it’s deep enough. Don’t worry about following specific measurements like one and a half times or twice the height of the tile. Just use your best judgement! But be careful not to go too deep, as this can cause root rot and overwatering for your new plant.

How to repot monstera with aerial roots?
Aerial roots mean that the roots grow above the surface. It often happens to monstera plants. You can safely cut back the aerial roots when they have outgrown the pot. After cutting back, you can simply replant by following the previously described steps. If they have not yet grown out so much, you can try to guide them back into the pot.
How to avoid repotting shock for your monstera?
It is common for plants to experience repotting shock right after being replanted. This happens because replanting causes significant stress on the plants, which could potentially affect their normal functioning.
When plants are exposed to new environments, their roots may struggle to adjust and grow properly, which can cause visible lesions on the plant. This can result in yellowing leaves or stunted growth. To avoid repotting shock, replant only when plants are most active, for example in early spring.
How to repot swiss cheese plants?
When replanting a popular monstera plant like the swiss cheese plant, the most important thing is to choose a new pot with plenty of drainage holes.
Just follow the same repotting steps for this plant as mentioned earlier. Also, remember to select a deeper pot if you plan to use a stake as support.
How to propagate swiss cheese plant by repotting?
With the swiss cheese plant, we have the perfect opportunity to propagate a swiss cheese plant in addition to replanting. This requires a cheese plant with strong stems, so it is worth considering to take a look at your plant before beginning.
Remove the plant from the ground, then clean the roots from the soil and look for points where you can separate the plant. Once you have a clean pair of scissors divide the plant into sections and continue the replanting steps as discussed before.
