Basil, the fragrant and flavorful herb, has a special place in the hearts of many home gardeners and cooks alike. Whether you’re growing it on your windowsill, balcony, or in a full-fledged garden, there comes a time when your beloved basil plant outgrows its home and needs a new place to spread its roots. In this guide, we’ll walk you through how to repot basil plants, from knowing when it’s time to make the move to preventing transplant shock and ensuring your basil continues to thrive.
When to repot Basil
First things first, let’s talk timing. Basil, like many other plants, needs a bit of space as it grows. When you notice your basil plant becoming overcrowded, with its roots starting to outgrow its current pot, it’s time for a change of scenery. Many times, you need to repot your basil right after you brought it home from the store because the original pots are simply too small.
Choosing the right Soil
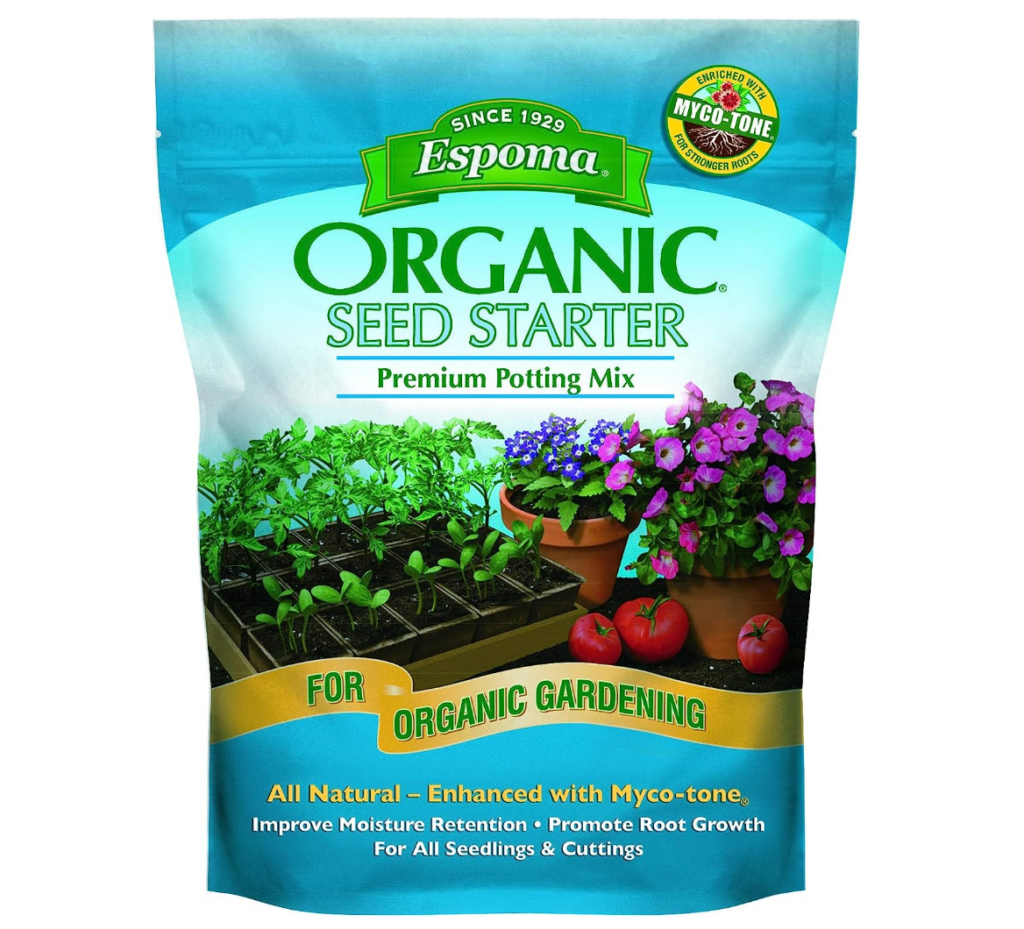
Before you start the repotting process, you must have the right soil. Basil prefers well-draining, nutrient-rich soil. You can buy a high-quality potting mix from your local garden center or make your own by mixing equal parts of potting soil, perlite, and compost. This blend provides the perfect environment for your basil to thrive.

Choosing the right Pot
When selecting a new pot for your basil, go for something that’s slightly larger than its current home. A 2 – 3 inch plus in diameter for the new pot is usually the way to go. Make sure it has enough drainage holes at the bottom to prevent waterlogging, which can lead to root rot.
The Tools You’ll Need
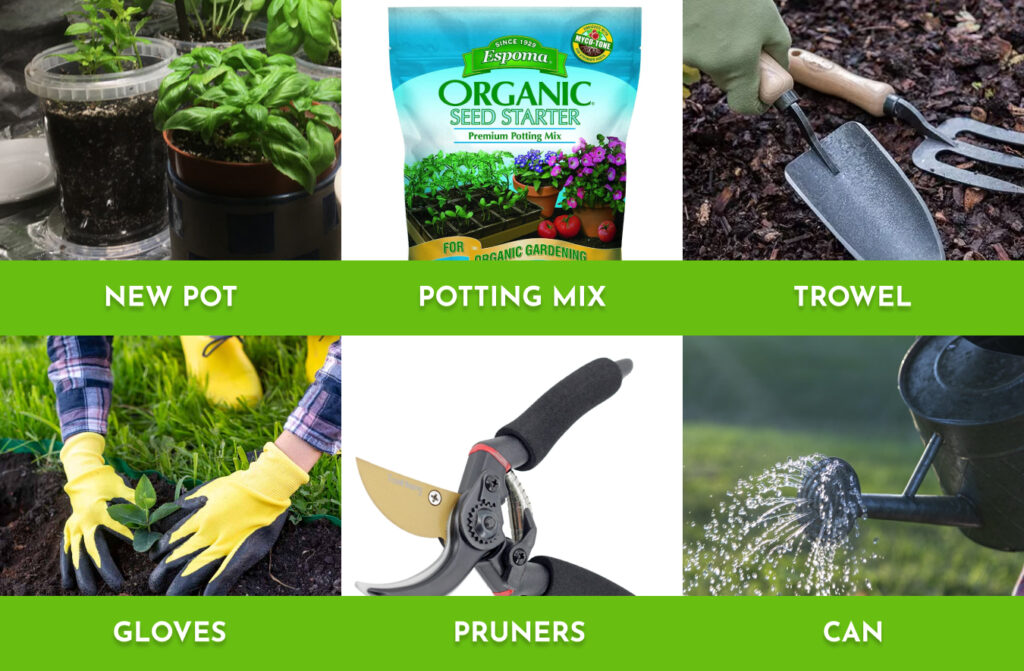
Before you get your hands dirty, gather the necessary tools:
- New pot: As mentioned earlier, make sure it’s the right size and has drainage holes.
- Potting mix: Have your nutrient-rich soil mix ready.
- Trowel or scoop: You’ll need this to handle the soil.
- Gloves: Protect your hands from soil and potential pests.
- Pruners or scissors: For trimming and pruning during the process.
- Watering can: To settle the soil in the new pot.

How to repot Basil Step-by-Step
Now, let’s dive into the step-by-step process of repotting your basil:
- Prepare the new pot: Fill the new pot with your potting mix, leaving enough space at the top to accommodate your basil plant.
- Remove the basil from its old pot: Gently tap the old pot to loosen the soil and carefully slide the basil plant out. If it’s stuck, you can gently squeeze the sides of the pot or use a trowel to help ease it out.
- Inspect the root system: Check the roots for any signs of rot or disease. Healthy roots should be white or light tan, while unhealthy roots might appear brown or black. Trim away any damaged or dead roots with your pruners.
- Place the basil in the new pot: Create a small hole in the center of the potting mix in your new pot. Nestle your basil plant into the hole, ensuring it’s at the same depth as it was in the old pot.
- Fill with soil: Gently fill the space around the basil plant with more potting mix, pressing it down lightly as you go to remove air pockets. Leave about an inch of space at the top to make watering easier.
- Water thoroughly: Give your newly potted basil a good drink of water. This will help settle the soil and provide essential moisture to the roots.
- Place in the right spot: Put your repotted basil in a location where it will receive plenty of indirect sunlight, at least 6 hours a day. A south-facing window or a sunny spot on your balcony is ideal.
How to repot Basil Cuttings
If you’re propagating basil from cuttings, you can’t just put them in the soil and hope for the best. The repotting process is slightly different. Here’s how to do it:
- Root the cuttings: Start by propagating basil cuttings in water until they develop roots. Put your cutting in filtered water for about 10 – 14 days. Once the roots are about 2 inches long, they’re ready for transplanting.
- Prepare the new pot: Fill a small pot with your potting mix, leaving some space at the top.
- Make a hole: Use your finger or a pencil to create a hole in the center of the potting mix.
- Place the cutting: Gently insert the rooted basil cutting into the hole and press the soil around it to hold it in place.
- Water thoroughly: Water the cutting well to help it settle into its new home.
- Provide adequate sunlight: Just like with mature basil plants, make sure your basil cutting gets enough sunlight.

How to prevent Transplant Shock
Transplant shock is when your plant goes through a period of stress after being moved to a new pot. Unfortunately, this can happen to your basil as well. To lower the chances, follow these tips:
- Water before transplanting: Give your basil a good drink a day or two before repotting. Hydrated plants tend to handle transplanting better.
- Handle with care: Be gentle with the roots and stems during the process to avoid damage. Only trim roots that you really have to.
- Reduce stress: Avoid transplanting during extreme temperatures or when the plant is flowering.
- Water after transplanting: After repotting, water your basil again to settle the soil and provide moisture to the roots.
Aftercare
Your repotted basil will need some extra care in the days following transplant:
- Watering: Keep the soil consistently moist but not waterlogged. Basil prefers slightly damp conditions.
- Fertilize: Feed your basil with a balanced liquid fertilizer every 2-4 weeks during the growing season to ensure it has all the nutrients it needs.
- Pruning: Continue to pinch off the tips of your basil plant to encourage bushier growth and prevent it from going to seed too soon. Check out our full guide on pruning your Basil the right way!
- Harvest regularly: Enjoy your basil by harvesting its aromatic leaves regularly. This not only keeps your plant in check but also encourages new growth.
All-in-all, repotting basil is very simple. With the right timing, soil, pot, and care, you’ll ensure your basil continues to thrive and adds its delightful flavor to your culinary creations for months to come.
Frequently Asked Questions
Basil likes to be in confide pots, but benefits from repotting when it becomes root-bound or when initially transplanting. Choose a slightly larger pot with well-draining soil to promote healthy growth. Spring is a good time for repotting basil.
Why is my basil plant dying after repotting?
Wilted basil leaves can also result from transplant shock, which occurs when the plant undergoes stress due to changes in its growing environment. This stress can happen when you move the basil to a new pot or relocate it outdoors.
To avoid this, prune as little as possible from the roots when you transplant, and also make sure you keep the soil moist but not soggy afterward.
Does basil like sun or shade?
Basil likes partial sun, and grows best if it gets about 3-6 hours of it every single day. Avoid growing it in full shade.
Does basil grow better in pots or in the ground?
Basil thrives in pots because this allows you to protect it from the harsh midday sun and gives you greater control over the soil quality. Ensure you use well-draining soil that’s rich in organic matter for optimal growth.”

