Aloe vera is a succulent houseplant, popular for the healing jelly-like substance that is found in its leaves. Aloe vera also tends to outgrow the pot it is in, so it needs to be repotted into another pot. Fortunately, this is not so common, as it needs to be replanted every 3 years or so.
The signs are quite easy to spot, as the plant has physically outgrown the pot. Another common phenomenon is when the roots break the surface of the soil. For these reasons, aloe vera needs to be replanted to keep it fresh and happy.
What are the signs to repot aloe plant?
It is important to know the signs that will help you decide for sure whether to replant. The signs below do not necessarily mean that you should replant your aloe vera, but if you replant it in a new pot with fresh soil, you will not be doing any harm.
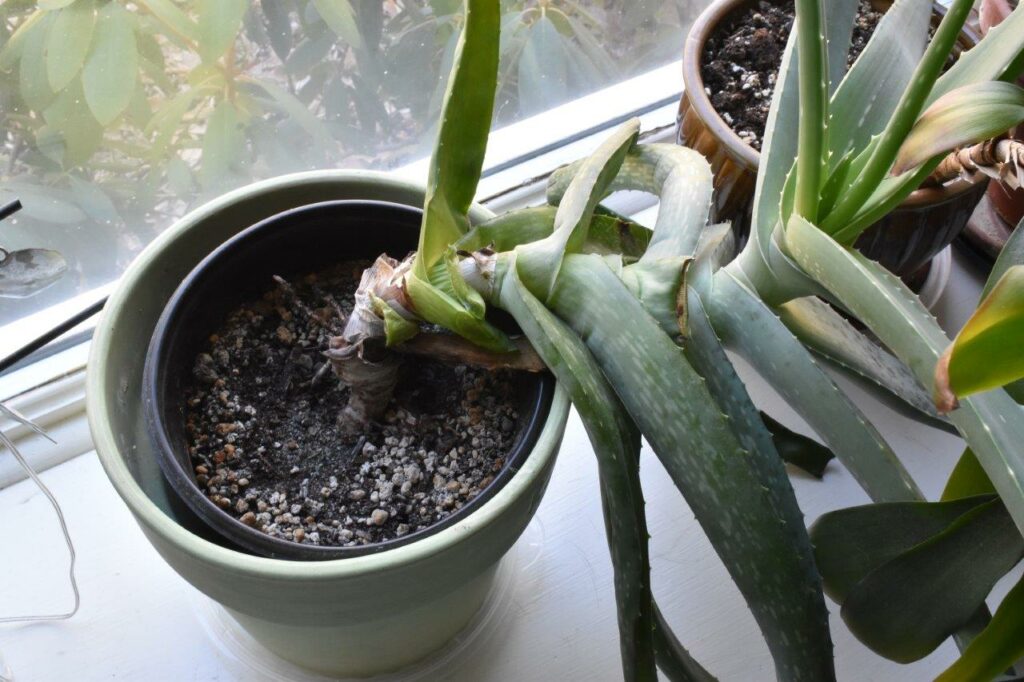
- Roots peeking out: If you notice roots poking out of the drainage holes at the bottom of the pot or circling the surface of the soil, your Aloe is screaming for a new home.
- Slow growth: If your Aloe seems to have hit a growth plateau and isn’t looking as vibrant as it used to, it could be root-bound and in need of more space.
- Soil depletion: Over time, the potting mix loses its nutrients. If your Aloe looks a bit sad and hasn’t been repotted in years, it might be starving for fresh soil.
- Tilted or unstable growth: If your Aloe Vera is leaning to one side or seems unstable (top-heavy) in its current pot, it’s a sign that it’s outgrown its home.

What tools do you need for repotting aloe vera?
- Gloves: Aloe Vera leaves have spiky edges, so protect your hands with a good pair of gardening gloves.
- Trowel or spade: You’ll need this to carefully remove your Aloe from its current pot.
- Pruning shear: If you need to cut off any damaged or dead roots, these always come in handy!
- New pot: Select a pot that’s an inch or two larger in diameter than the current one, with drainage holes.
- Potting mix: A well-draining mix is essential. You can buy a pre-made aloe vera soil mix or make your own by adding perlite or sand to regular potting soil.

Best Time to Repot Your Aloe Vera Plant
The ideal time for repotting your Aloe Vera is during the spring or early summer. Why? This is when your plant is naturally waking up from its winter rest and entering its growing phase. Plus, the warmer temperatures and longer daylight hours will help it recover from the transplant shock more easily.
Selecting the Right Pot & Soil for Your Aloe Plant
The right pot for your Aloe Vera plant
Now, let’s dive into the nitty-gritty details of choosing the perfect pot and soil for your Aloe Vera. First, the pot:
- Size: Aloe Vera doesn’t need a mansion; a pot that’s just a bit larger (1-2 size bigger) than its current one will do.
- Material: Go for a pot made of terra cotta or another breathable material. These allow excess moisture to evaporate, reducing the risk of root rot.
- Drainage: Ensure your chosen pot has drainage holes at the bottom. No one likes soggy roots, especially succulents!
The right soil for your Aloe Vera plant
- Drainage: Aloe Vera’s mortal enemy is soggy soil. Choose a well-draining mix to prevent overwatering. This Succulent potting mix is perfect for Aloe Veras.
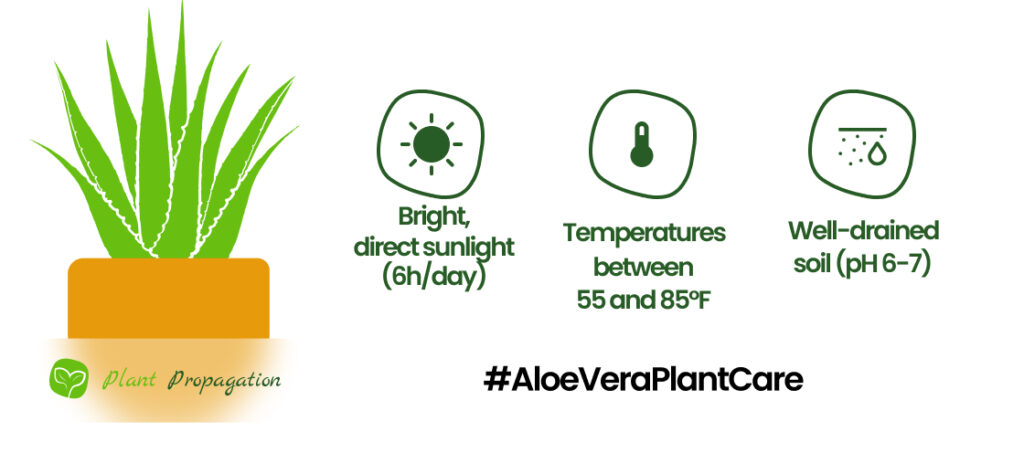
- pH level: Aim for a slightly acidic to neutral pH level (around 6.0 to 7.0).
- Aeration: Adding perlite or coarse sand to your mix will improve aeration and help with drainage.
How to Repot Aloe Vera plants Step-by-Step
Alright, you’ve got your Aloe, your gloves, your tools, and the perfect pot and soil. Let’s get our hands dirty!
- Remove the Aloe from Its Pot: Carefully turn the pot upside down and tap it to loosen the plant. Gently slide the Aloe out, being mindful not to damage the roots. Always avoid gripping the leaves, as their delicate growth can snap easily.
- Inspect and untangle the Roots: Gently untangle any roots that are circling the bottom to free them. If the old soil has seen better days, it’s a good opportunity to remove some of it, making way for fresh, nutrient-rich soil. Lastly, if the roots are excessively long and would overcrowd the new pot, trim them down to a more manageable length using pruning shears. Rest assured, a little root trimming won’t harm your plant. In fact, they’ll bounce back heartier than ever in their new homes when pruned properly.
- Separate the Pups (Optional): This step is entirely optional, but highly recommended for your plant’s overall health. If you spot any baby Aloe plants (pups) hanging around the base of the parent plant, especially larger ones hogging space, it’s time to bid them adieu. Separate small pups by pulling them apart; for larger ones, use pruning shears or a knife. Rinse soil to aid identification. Allow cuts to air dry if needed.
- Prepare the New Pot: Add a layer of gravel or small stones to the bottom of the new pot for drainage. Fill it with the prepared potting mix until it’s about one-third full. Not only does this give you the chance to nurture more Aloe offspring, but it also stops the pups from siphoning energy away from the main plant. Both the parent and the new pups will thrive when they go solo.
- Transplant Your Aloe: Position your Aloe Vera in the center of the new pot and fill in the sides with more potting mix. Leave about an inch of space at the top to make watering easier.
- Water Sparingly: Water your newly potted Aloe sparingly, allowing the soil to settle around the roots. Avoid overwatering during this stage to prevent root rot.
Aftercare
Congratulations, you’ve successfully repotted your Aloe Vera! But it’s not over yet. Here’s what to do next:
- Place it in a bright spot: Aloe loves bright, indirect sunlight. A south or west-facing windowsill is perfect.
- Let it rest: Don’t fertilize for a few weeks to allow your Aloe to adjust to its new home.
- Water sparingly: Allow the soil to dry out completely between waterings. Stick your finger about an inch into the soil; if it’s dry, it’s time to water.
- Monitor for pests: Keep an eye out for common houseplant pests like mealybugs or aphids.

In a nutshell, repotting your Aloe Vera plant isn’t rocket science, but it does require a bit of TLC and the right timing. Just remember to choose the right pot and soil, handle your Aloe with care, and give it some post-repotting love. Your Aloe will thank you with vibrant, healthy growth, and maybe even some soothing gel for those occasional sunburns! Happy gardening!
Frequently Asked Questions
Water your Aloe Vera plant right after repotting and once more in about three weeks, ideally with rainwater or distilled water. Wait until the top inch of soil dries out before the next watering.
Do aloe plants like bigger pots?
Not really. Aloe Vera plants like to be a little snug in their pots and whenever you repot them, make sure you don’t choose a pot bigger than 1 maybe 2 sizes bigger than the current one.
Should I prune the roots of my Aloe Vera before repotting?
Before putting your Aloe Vera in its new pot, you should always check the roots. If any of them look rotten or dead, remove them using a clean pruning shear or scissors.
How much sunlight does a repotted Aloe Vera need?
Aloe Vera plants love sunlight and it is especially important to put them in a bright spot after repotting. These plants need a minimum of 6 hours of sunlight every day.

