If you’ve got a fern at home (like the beautiful Boston Fern), you probably know that these leafy companions can thrive for years with the right care. One crucial aspect of that care? Repotting your fern when it’s time for a change of scenery. In this article, we’re going to break down everything you need to know about when, why, and how to repot a fern.
When Should You Repot Ferns
Let’s start with the million-dollar question: When should you repot your fern? Well, ferns aren’t the divas of the plant world, but they do drop some hints when they’re unhappy in their current pot. If you see these signs, it’s time for repotting:
- Roots are busting out: Peek into the pot, and if you see a mass of roots circling the edges or poking through the drainage holes, your fern is cramped and needs more space to grow.
- Stunted growth: Is your fern not as lush and vibrant as it used to be? Are the fronds smaller than usual? This could be a sign that it’s running out of nutrients in its current soil.
- Drying out too fast: If the soil dries out quickly after watering, it might be time for a larger pot with better water retention.
In general, you should repot your Fern every 2 years and preferably in the growing season (Spring).

Tools You’ll need for Repotting
Before we dive into the repotting process, let’s gather our tools:
- Gloves: Protect those green thumbs of yours with a good pair of garden gloves.
- Pruning shears: These will help you trim any dead or damaged fronds.
- A new pot: Choose a pot that’s about 1-2 inches larger in diameter than your current one.
- Fresh potting soil: Get some high-quality, well-draining potting mix – your fern will thank you!
- A watering can or spray bottle: You’ll need to water your fern after the repotting is done.

Selecting the Right Pot
Ferns aren’t overly picky, but there are a few pot-related pointers to consider:
- Size matters: As mentioned, go up 1-2 inches in diameter from your current pot. This gives your fern room to grow without going overboard.
- Drainage is key: Make sure your pot has drainage holes at the bottom. Ferns hate standing in water, and good drainage helps prevent root rot.
- Material: You can choose between ceramic, plastic, or terracotta pots. Ceramic and terracotta can help keep the soil moist longer, while plastic pots are lightweight and don’t break as easily.
Selecting the Right Soil
Ferns are like the Goldilocks of the plant world when it comes to soil – it needs to be just right. Here’s how to get it right:
- Well-draining mix: Your fern doesn’t want wet feet. Opt for a potting mix that’s light and airy, containing ingredients like perlite, vermiculite, or peat moss. This one is pretty good for potting Ferns.
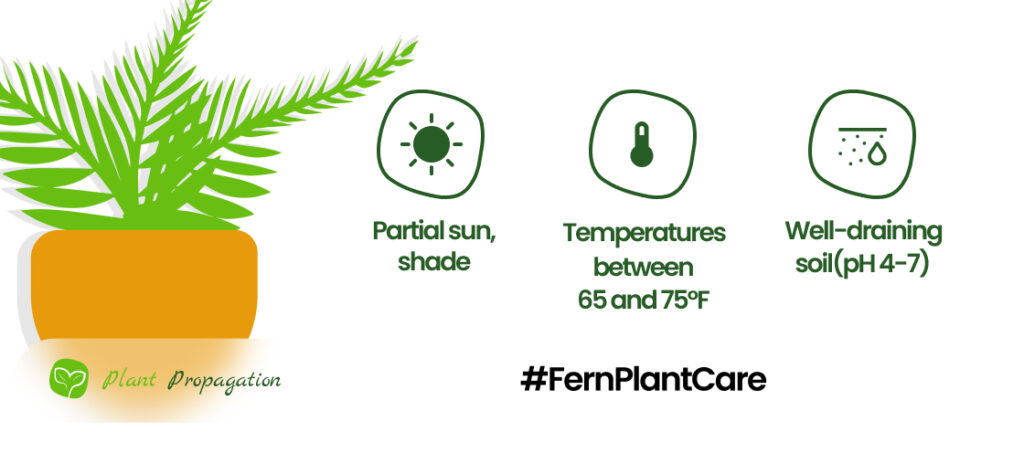
- pH levels: Ferns can tolerate poor soil and pH between 4 and 7.

How to repot a Fern step-by-step
Alright, it’s showtime! Let’s give your fern the new home it deserves:
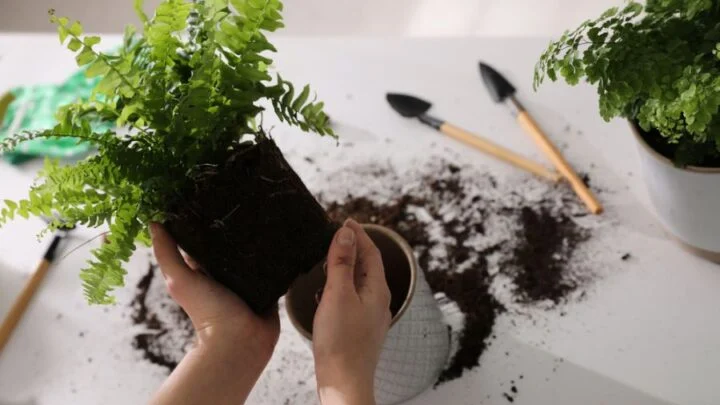
- Remove the fern from its current pot: Gently tip the pot to the side and let gravity help you ease the fern out. If it’s stuck, tap the sides of the pot to loosen it, or use a knife to carefully separate the roots from the pot. You can also give it a bit of water to loosen up the soil.
- Inspect and trim: Check the roots for any signs of rot or damage. Trim away any dead or unhealthy-looking roots with your pruning shears. Repotting is also a pretty good time to prune for bushier growth, so have at it!
- Add fresh soil: Place a layer of fresh potting mix at the bottom of the new pot. The root ball should be a few inches below the edge of the new pot. Set the fern in the center and fill in the sides with more soil.
- Water and settle: Give your newly potted fern a good watering to help the soil settle around the roots. Top up the soil if it settles too much.
- Placement: Put your fern back in its preferred spot, ideally a bright, indirect light location away from drafts.
How to care for your Fern after Repotting
You’re almost done but need to remember: repotting can be stressful for any plants. Here’s what to do next to ensure your fern thrives in its new home:
- Watering: Keep the soil consistently moist but not soggy. Water when the top inch of soil feels dry to the touch.
- Humidity: Ferns adore humidity. You can mist your fern daily or place a humidity tray nearby.
- Fertilizing: Feed your fern with a balanced liquid fertilizer every 2-4 weeks during the growing season (spring to early autumn).
- Pruning: Trim any yellow or brown fronds regularly to encourage new growth. You can also make your fern bushier with regular pruning.
- Repotting schedule: Repeat the repotting process every 2-3 years, or when you notice the signs mentioned earlier.

In conclusion, repotting your fern doesn’t have to be a daunting task. With a little TLC and the right tools, you’ll give your fern a fresh start in a new pot with room to grow and thrive. So, roll up those sleeves, get your hands dirty, and watch your green friend flourish in its revitalized home. Happy gardening!
Frequently Asked Questions
- Gently tip the pot to the side and let gravity help you ease the fern out.
- Place a layer of fresh potting mix at the bottom of the new pot.
- Set the fern in the center and fill in the sides with more soil.
- Give your newly potted fern a good watering to help the soil settle around the roots.
- Put your fern back in its preferred spot, ideally a bright, indirect light location away from drafts.
Do ferns need big pots?
Too big pots can make it hard for the soil to dry, leading to root rot. Ferns like pots with just enough space for their roots to grow.
Should I water my fern after repotting?
Watering your Fern right after repotting can help the soil settle and give a little extra juice to your plant to adjust to the new environment.
Why is my fern dying after repotting?
There could be several reasons why your fern is not doing well post-repotting:
- Transplant Shock: Plants, like ferns, may go through stress when repotted, leading to wilting or drooping leaves. This is typically temporary, and recovery happens with proper care. Solution: Follow repotting guidelines, be gentle with roots, use well-draining soil, maintain stable light and humidity, and be patient.
- Overwatering: After repotting, overwatering is common and can cause root rot, leading to wilting and decline.Solution: Avoid keeping soil excessively wet, water when the top inch is dry, ensure proper drainage, and let the soil dry slightly between waterings.
- Insufficient Light: Ferns prefer indirect light; excessive direct sunlight post-repotting can scorch leaves. Solution: Place the fern in bright, indirect light, away from direct sun. Adjust its location if needed.
Do ferns like bottom watering?
Yes, Ferns are very much okay with bottom up watering. Just put your potted ferns in a sink or bathtub, allowing them to sip up the water from the bottom.

