If you’ve got a Christmas cactus that’s been itching for a new home, you’re in the right place. Repotting might sound like a daunting task, but fear not! In this guide, we’ll walk you through the whole process step by step, from timing it just right to pampering your cactus post-repotting. So grab your gardening gloves and let’s learn how to repot a Christmas Cactus the right way!
When to Repot Your Christmas Cactus
Timing is everything, and that holds true for repotting too. From February to March is the golden window for giving your Christmas cactus a fresh start. Why? Well, that’s when these succulent darlings finished flowering and waiting for new shoots to appear. So, mark your calendar!
The Tools for Repotting a Christmas Cactus
- A New Pot: Grab a pot that’s just a teensy bit bigger than the current one. Not too roomy, not too cramped.
- Soil Mix: A potting mix fit for royalty: one part potting soil, one part perlite (for that perfect drainage), and a dash of peat moss (for moisture retention).
- Pruners: These are your plant’s new best friends. Use them to trim any unruly or damaged roots.
- Gloves: Gardening gloves will protect your hands from prickly surprises.
- Watering Can: For that gentle post-repotting watering.

How to Repot a Christmas Cactus step-by-step
1. Preparations
Before you dive in, give your Christmas cactus a pre-repotting spa treatment. Water it a day or two before, so it’s nicely hydrated and the roots aren’t sticking like stubborn spaghetti.
Choosing the right Pot
Think of it as house hunting for your plant, with a twist of “Goldilocks and the Three Bears” – not too big, not too small, but just right.
- Size: Go for a pot 1 to 2 inches larger in diameter than the current one – roomy yet cozy. Avoid pots that are significantly larger than your cactus’s current home to prevent excess moisture buildup.
- Air Circulation: Opt for a clay pot for optimal air circulation and a touch of rustic elegance.
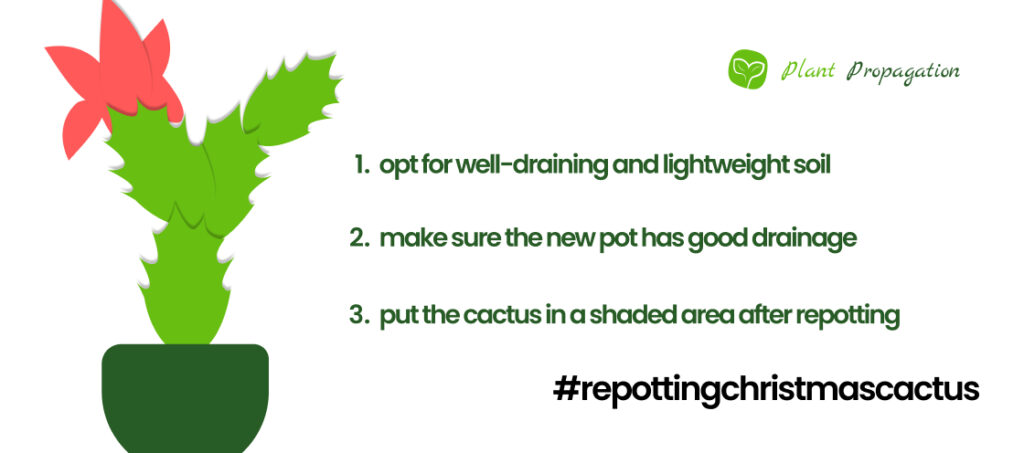
- Drainage: Ensure the pot has proper drainage holes – your cactus wants to be dry, not damp.
Choosing the right Potting Soil
When it comes to soil, your Christmas cactus isn’t just any ordinary houseplant. In the wild, these cacti live on rocks and thrive under trees and shrubs. They’re all about that organic leaf matter dropping from above. Mimicking this environment is key, so opt for well-draining and lightweight soil that imitates their rocky roots.
Sticking to a porous blend for bromeliads is a safe bet. Peat-based potting soil is a go-to, but to truly pamper your plant, throw in some soil amendments. Perlite or coarse sand are preferable – they keep things well-drained while still holding that coveted moisture your Christmas cactus needs.
Try combining 2/3 regular potting soil with 1/3 sand. Remember, soil selection is like preparing a gourmet meal for your plant. Stick to well-draining, lightweight, and nutrient-rich options, and your Christmas cactus will reward you with lush growth and a happy dance of its own.
2. Repotting your Christmas Cactus Step-by-Step
- Remove the plant: Extract the Christmas cactus from its current pot using controlled pressure or a blunt-edged knife to gently detach it from the sides. If the root ball is tight, employ a delicate massaging technique to encourage relaxation.
- Put some soil into the new pot: Set the groundwork by placing an appropriate amount of your chosen potting mix at the base of the new pot. Ensure the root ball is positioned level with the pot’s rim to allow for optimal growth.
- Fill up the new pot with soil: Gradually fill the perimeter around the root ball with additional potting mix. Introduce compost, if available, to enhance nutrient content. Employ light compaction to establish firm yet comfortable placement.
- Apply the top layer: Conclude the repotting procedure with a distinguished touch by applying a top dressing of succulent and cactus mix. Elevate the sophistication by introducing compost and worm compost for an enriching flourish.
- Watering: Tenderly administer a modest watering session to the newly repotted Christmas cactus. Bestow a measured amount of water to enable the soil to settle around the roots and alleviate any initial thirst.

How to Care for a Christmas Cactus after Repotting
After repotting your beautiful Christmas Cactus, there are only a few things you need to pay attention to.
- Firstly, moderately water the plant to help it settle in.
- Secondly, put the cactus in a shaded area In the first two or three days to allow it to acclimate.
If your plant looks happy & healthy, you can return to regular care in a few days.
Frequently Asked Questions
When the roots of a Christmas cactus fill the pot, it’s time to repot, but otherwise they like to be crowded. Be sure to repot only after blooming.
Can you repot a christmas cactus when it’s blooming?
If you must, you can, but Christmas Cacti should be repotted AFTER blooming. Blooming takes up a lot of energy and you don’t necessarily want to stress your plant too much.
Can you use regular potting soil for christmas cactus?
A lightweight, well-drained potting mix that has sand in it is the best soil for Christmas Cacti.
Do christmas cactus like to be root bound?
While Christmas Cacti thrive in snug conditions, prolonged confinement can compromise their health. If you notice swift perking followed by rapid wilting, or watering fails to revive them, consider repotting.

