Tulips are a true harbinger of spring, with their vibrant and colorful blooms that can brighten up any garden or home. Planting tulip bulbs is a rewarding and relatively simple task, even for novice gardeners. In this guide, we’ll take you through the entire process of growing these stunning flowers, from choosing the right location to caring for them once they’re in the ground. So, grab your gardening gloves, and let’s learn How to Plant Tulip Bulbs!
How to Grow Tulips
Tulips are known for their elegance and grace, making them a popular choice among gardeners. Here’s a step-by-step guide to help you grow these beauties successfully.
Where to Plant Tulips
Before you dive into planting tulip bulbs, you need to decide where they will thrive best. Tulips prefer:
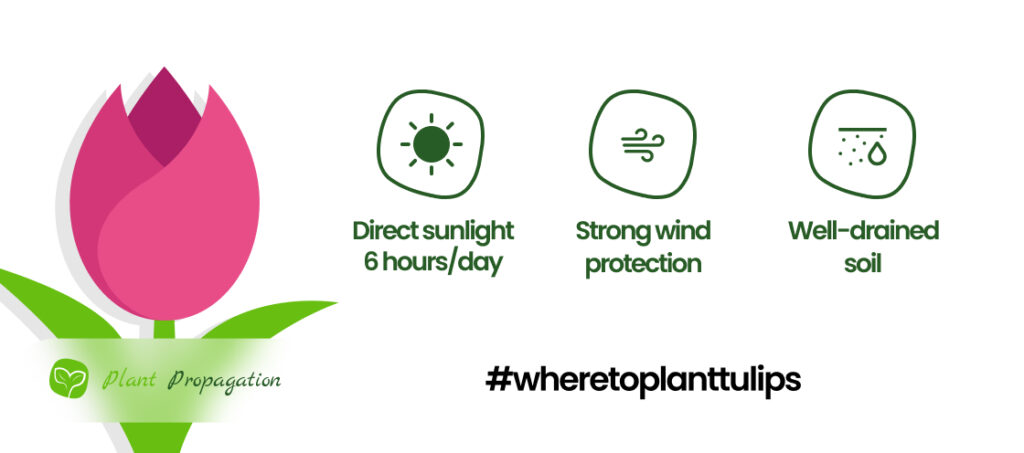
- Sunlight: Tulips love the sun! Choose a spot that receives at least 6 hours of direct sunlight each day.
- Well-Drained Soil: Ensure your soil has a pH level between 6.0 and 6.5, and also drains well to prevent bulb rot. If you have heavy clay soil, consider amending it with organic matter.
- Space: Plant tulips where they have room to breathe, as overcrowding can lead to disease and poor growth. About 4 – 6″ apart is fine.
- Protection from Strong Winds: If possible, select a location that shields your tulips from strong winds, which can damage their delicate blooms.

When to Plant Tulip Bulbs
Timing is crucial when it comes to planting tulip bulbs. The ideal time is in the fall, typically between late September and early November, after the hot summer season is over, but about 6 – 8 weeks before the ground freezes. This allows the bulbs to establish roots before winter sets in.
The tools you need
Planting tulip bulbs requires just a few basic tools:
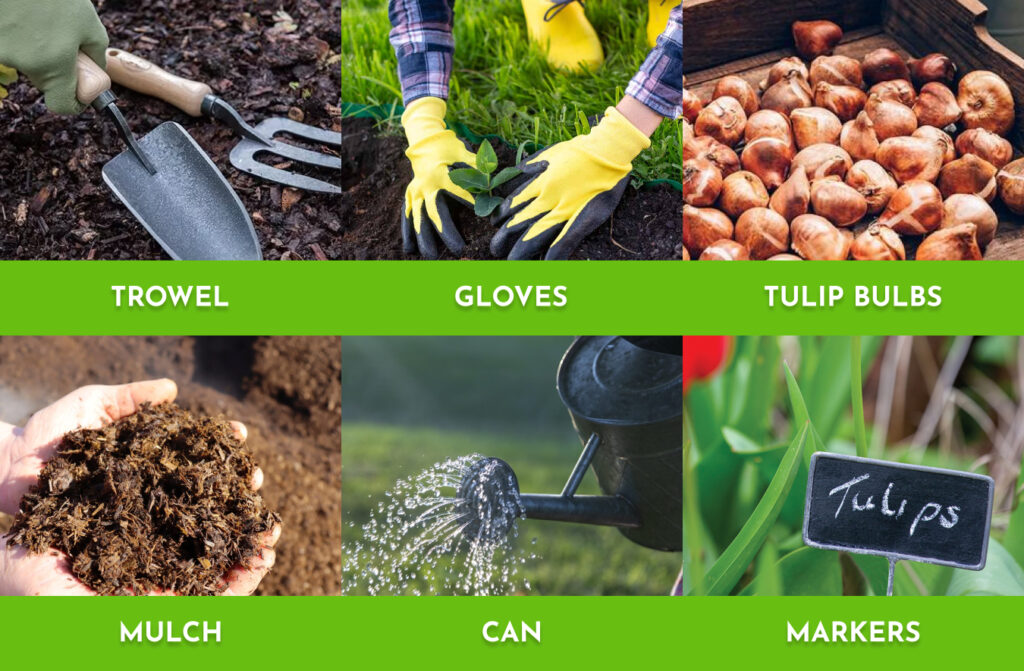
- Trowel or Bulb Planter: A trowel or specialized bulb planter makes digging the right-sized holes a breeze.
- Gloves: It is never a bad idea to protect your hands while gardening.
- Quality Bulbs: Of course, you’ll need the tulip bulbs themselves. Choose healthy, firm bulbs for the best results.
- Mulch: To insulate and protect your bulbs, spreading an inch of mulch can come in handy.
- Watering Can or Hose: To thoroughly water the bulbs after planting.
- Markers: Optional, but helpful for labeling the planted areas.
With these tools in hand, you’re all set to start your tulip planting!

How to Plant Tulip bulbs
Now that you’ve chosen the perfect spot and the right time, plus you have all the tools needed, let’s get into the nitty-gritty of planting tulip bulbs:
- Prepare the Soil: Start by preparing the soil. Dig a hole about 4-6 inches deep for standard-sized tulip bulbs. If you have larger bulbs, like Darwin Hybrid tulips, go a bit deeper, around 8 inches. Also, don’t forget loosening the soil to allow good drainage when you do the firs watering.
- Spacing Matters: Space your tulip bulbs about 4-6 inches apart. This allows each bulb enough room to grow and prevents overcrowding.
- Right Side Up: When planting, make sure the pointy end of the bulb faces upwards. The flat end, often with roots, should be at the bottom.
- Cover and Water: After placing the bulbs in the hole, cover them with soil and gently pat it down. Water thoroughly to settle the soil and provide the bulbs with moisture to kickstart their growth.
- Mulch It Up: Apply a layer of mulch to insulate the soil and protect the bulbs from extreme temperature fluctuations.
- Mark the Spot: Consider marking the area where you planted your tulips. This way, you won’t accidentally dig them up when planting other flowers or doing some maintenance.
How to Plant Tulips in Pots or Containers
Don’t have a garden? No problem! You can also enjoy the beauty of tulips by planting them in pots or containers. Here’s how:
- Select the Right Container: Choose a container with good drainage holes. An 18″ diameter pot with 14 – 16″ height pot is a good size for most tulip bulbs. If you are planning to leave the container outside for Winter, might want to go even bigger.
- Use Quality Potting Mix: Fill the container with a well-draining potting mix. Tulips dislike waterlogged soil, so make sure the mix is suitable for your bulbs. This one is pretty good for tulips.
- Plant the Bulbs: Plant your tulip bulbs in the pot with the pointed ends up, similar to how you’d plant them in the ground. You can plant multiple bulbs in a single container, but be mindful of spacing.
- Water and Mulch: Water the container thoroughly after planting, and add a layer of mulch on top to retain moisture and keep the soil temperature stable.
- Place in a Cool Location: Until the bulbs sprout, place the container in a cool (but not freezing) location, such as a garage or unheated shed. 35-45 degrees F is ideal.
- Move to Sunlight: Once the shoots appear, move the container to a sunny spot. Tulips need plenty of sunlight to grow and bloom. Soon as Spring comes around, you want to move them outside to help them grow.
Remember to water your potted tulips once a week but avoid overwatering, as this can lead to bulb rot.
Tips for growing healthy Tulips
- Water Wisely: Only water tulips during dry spells, avoiding unnecessary watering. Rainy summers, irrigation systems, and overly wet soil can harm them by promoting fungus and rot.
- Enhance Drainage: Prevent waterlogging by adding materials like shredded pine bark or sand to your soil, ensuring swift drainage for healthier tulips.
- Annual Compost: Apply compost each year to supply essential nutrients for future tulip blooms.
- Spring Feeding: When tulip leaves emerge in the spring, nourish them with the same bulb food or bone meal used during planting. Be sure to water well.
- Deadheading: Remove faded tulip blossoms promptly, but don’t touch the leaves.
- Leaf Maintenance: Keep tulip leaves on the plants for about 6 weeks post-flowering. They’re vital for gathering energy to fuel next year’s blooms. After they turn yellow and wither, you can prune them off.
Planting tulip bulbs is a delightful way to usher in spring’s arrival with a burst of color and elegance. Whether in your garden or in containers, these tips will help you enjoy the beauty of tulips year after year. Happy gardening!
Frequently Asked Questions
To ensure your tulips thrive, follow this golden rule: plant bulbs at a depth of at least 5 inches. This depth provides the necessary insulation and protection for the bulbs, especially if you intend to leave them in the ground. Many people even recommend planting at two to three times the size of the bulb.
What is the best month to plant tulip bulbs?
The best time is in the fall, typically between late September and early November, after the hot summer season is over, but about 6 – 8 weeks before the ground freezes.
Do tulip bulbs multiply?
After their first spring bloom, tulips require a full year of growth to kickstart the multiplication process. This enchanting process starts with the emergence of baby bulbs from the main tulip root. With each cycle, you can expect to see an impressive yield of 2 to 5 new bulbs, gradually expanding the beauty of your tulip garden.
Can you grow tulips indoors
You can grow your tulips in containers in your house as well, but once the weather turns warmer, you probably want to move your plants to a sunny spot for best growth.

